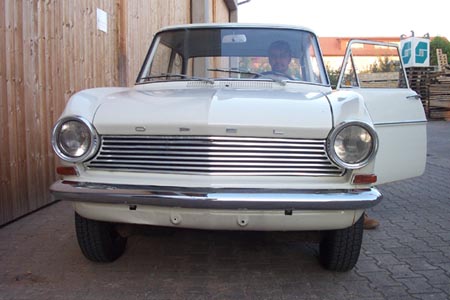
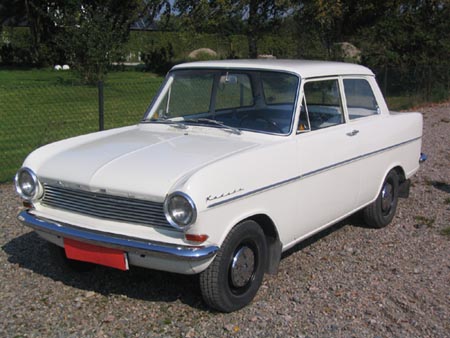
never before I have worked on any car, but I always had a deep love for the Opel Kadett, or the Opel Mini as it was sold in the US market.
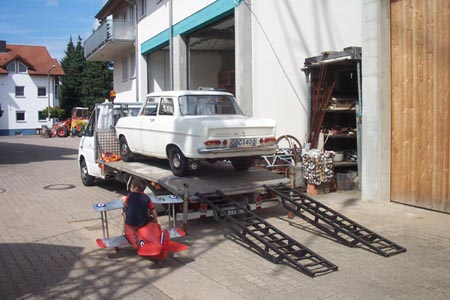
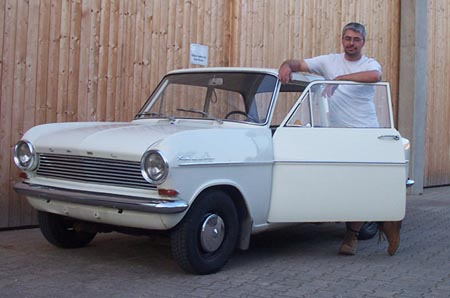
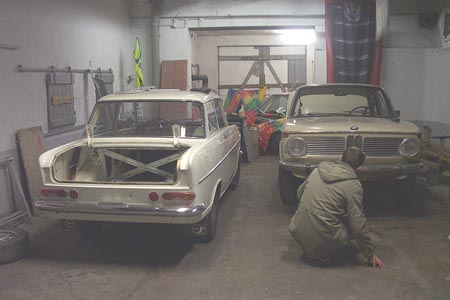
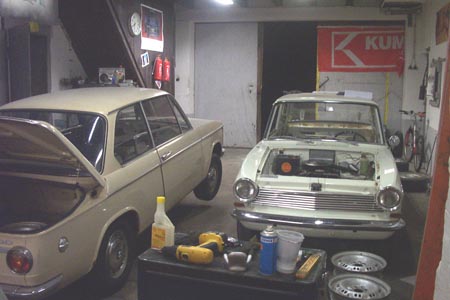
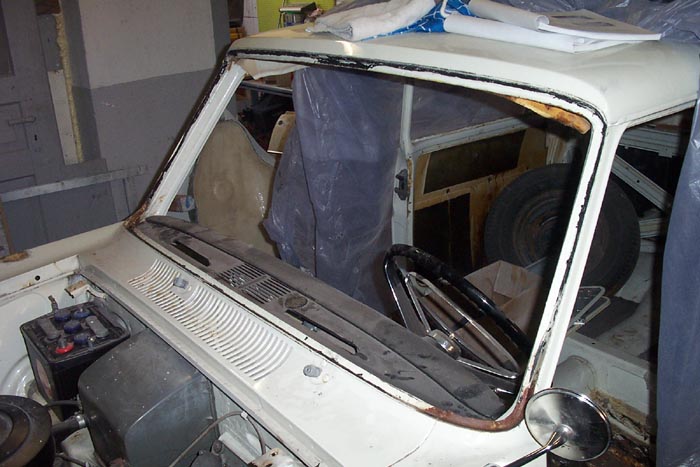
Not long ago, I decided to finally buy myself a car of that type.
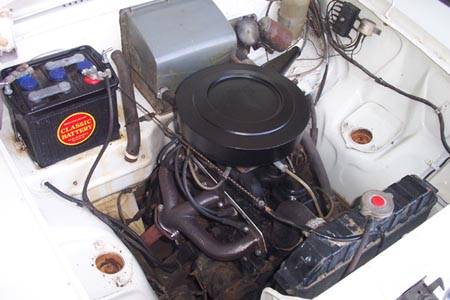
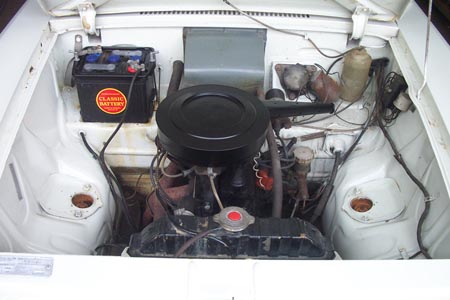
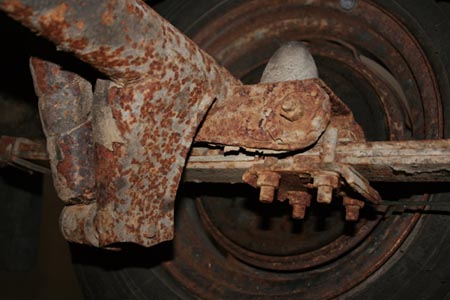
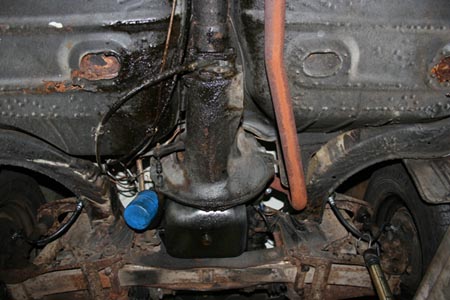
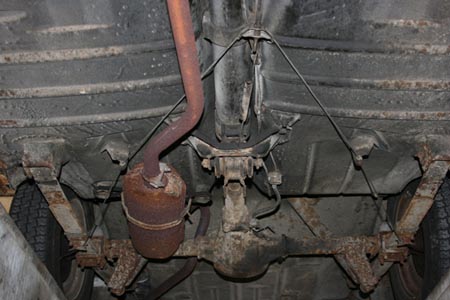
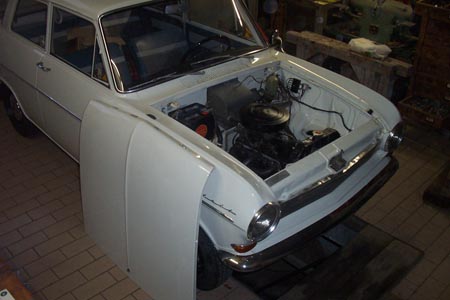
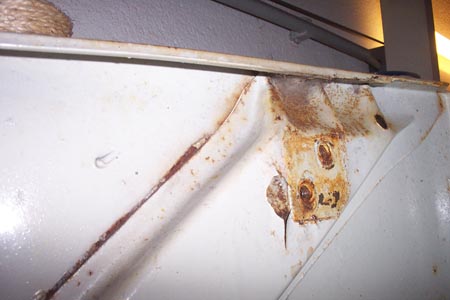
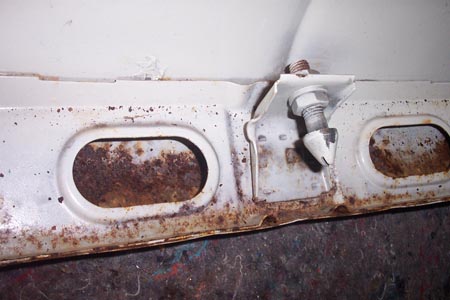
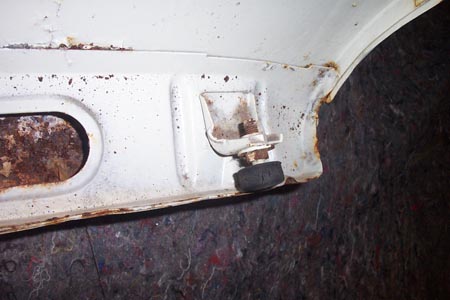
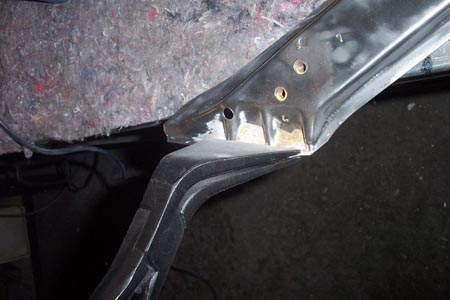
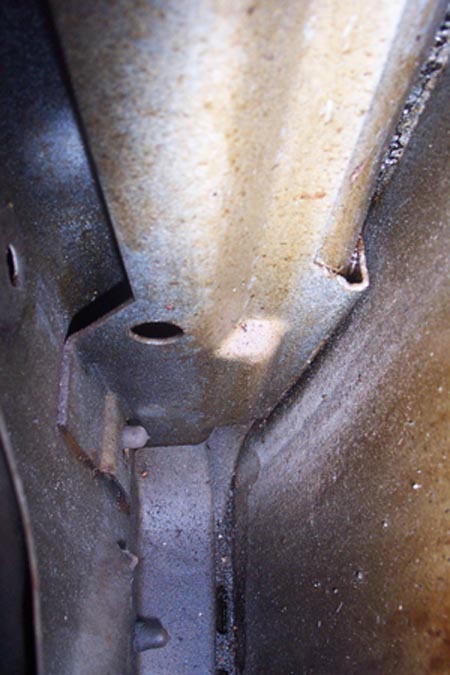
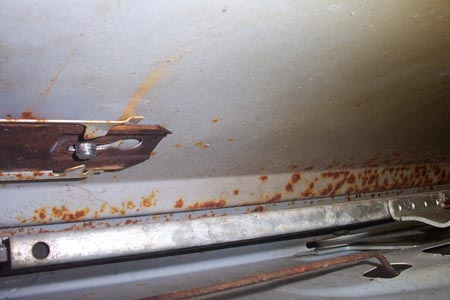
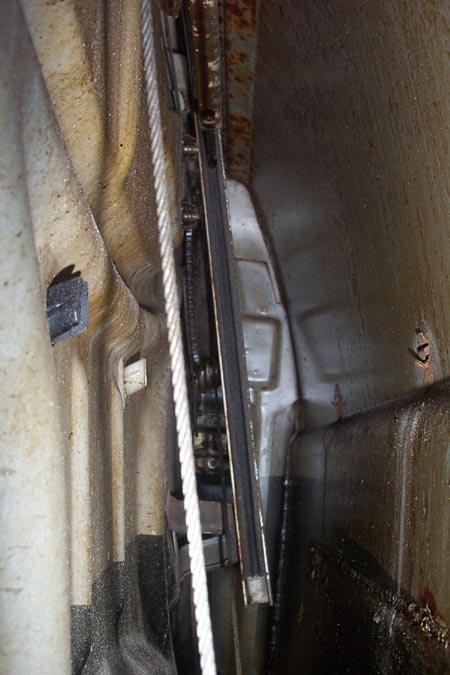
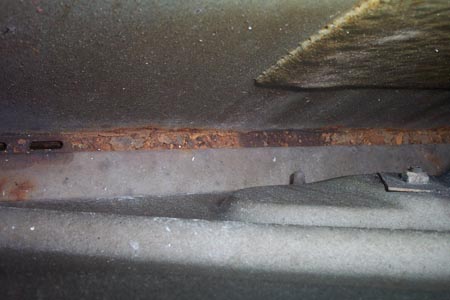
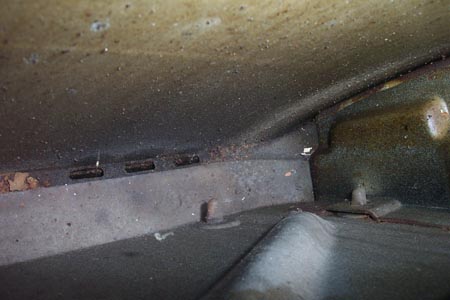
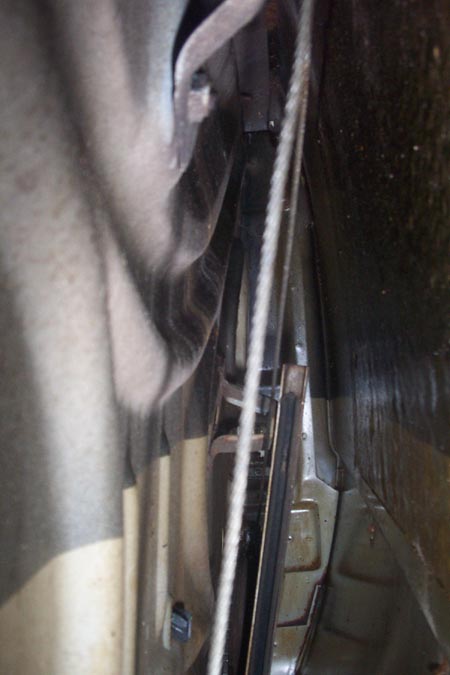
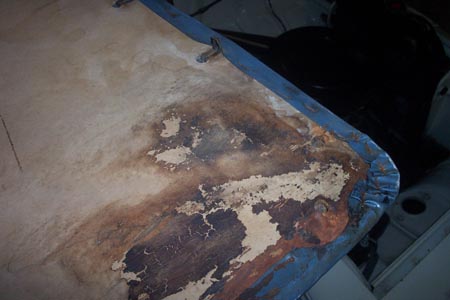
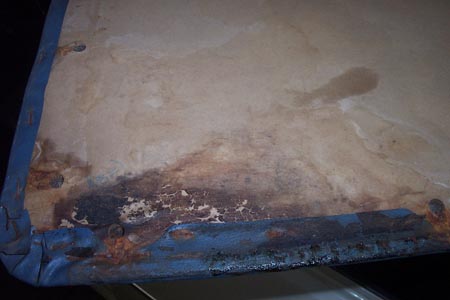
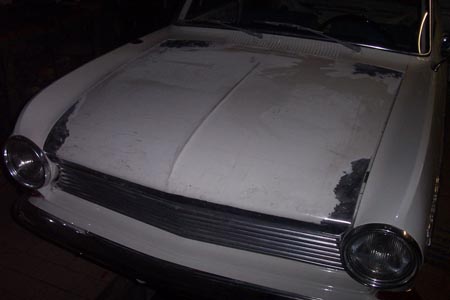
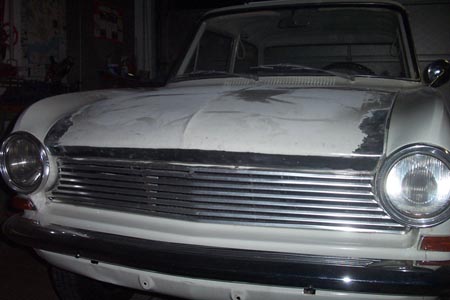
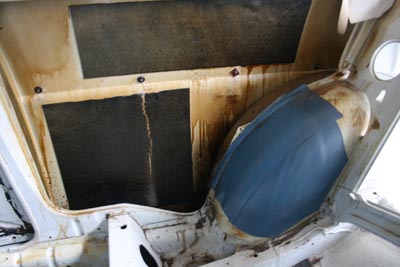
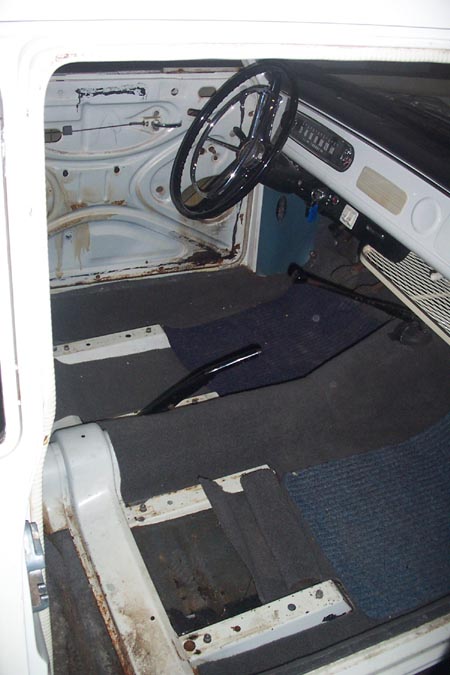
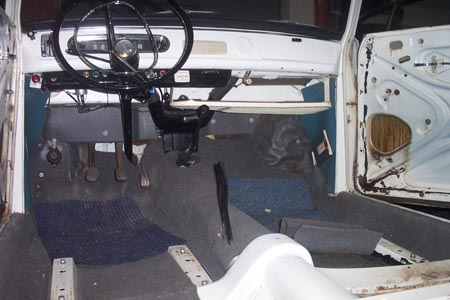
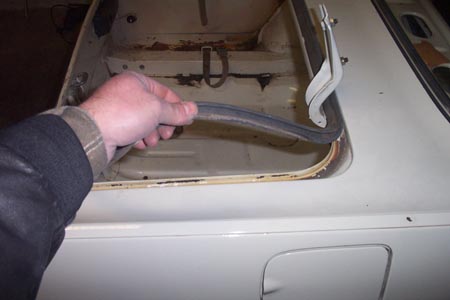
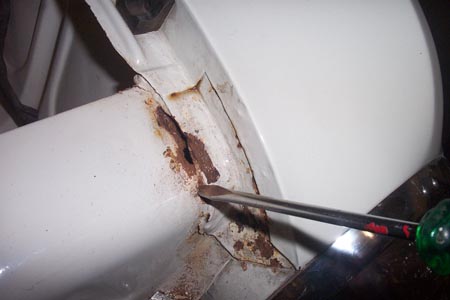
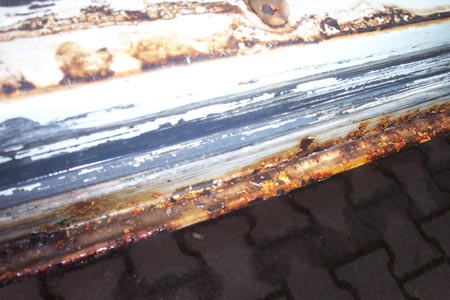
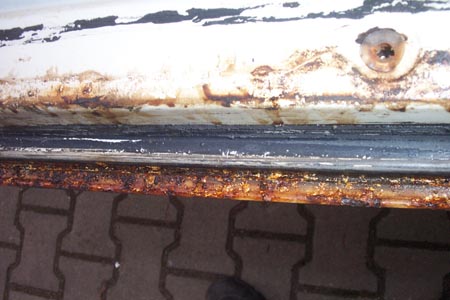
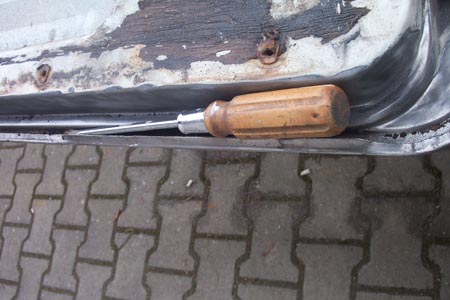
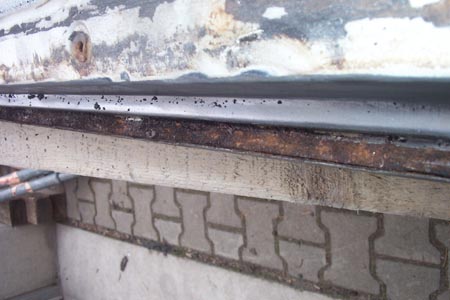
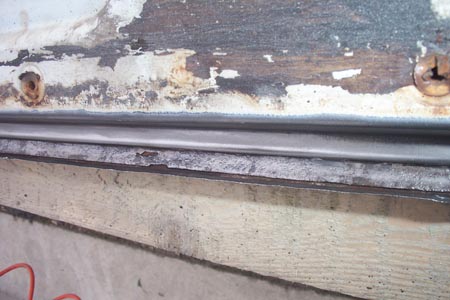
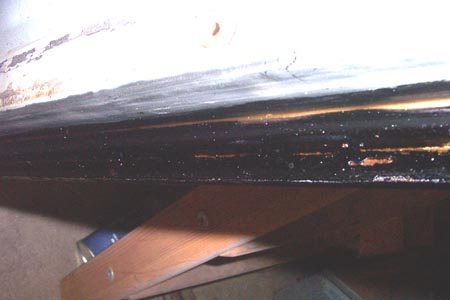
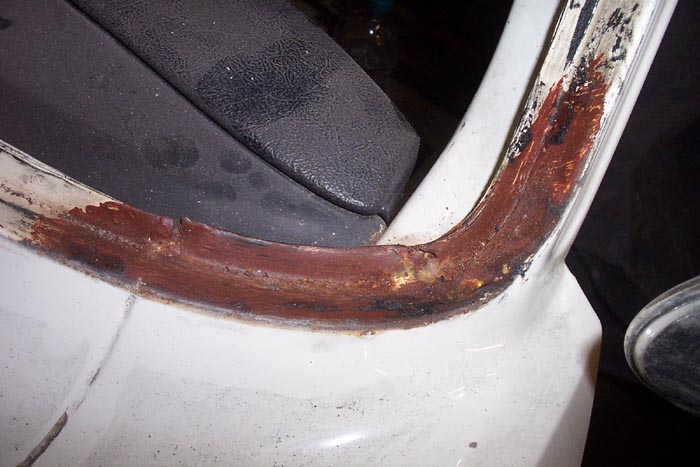
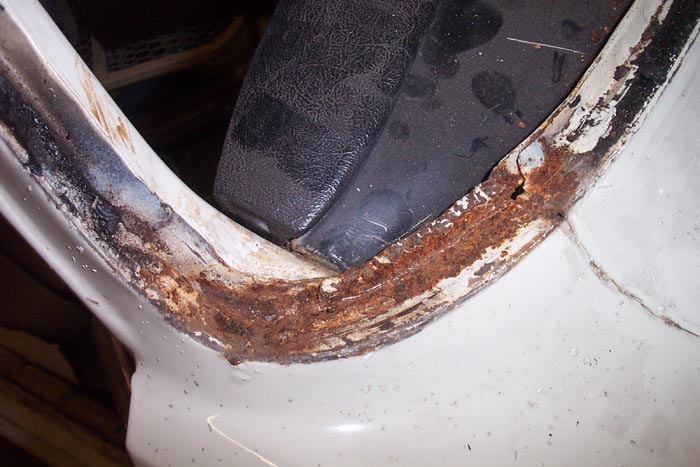
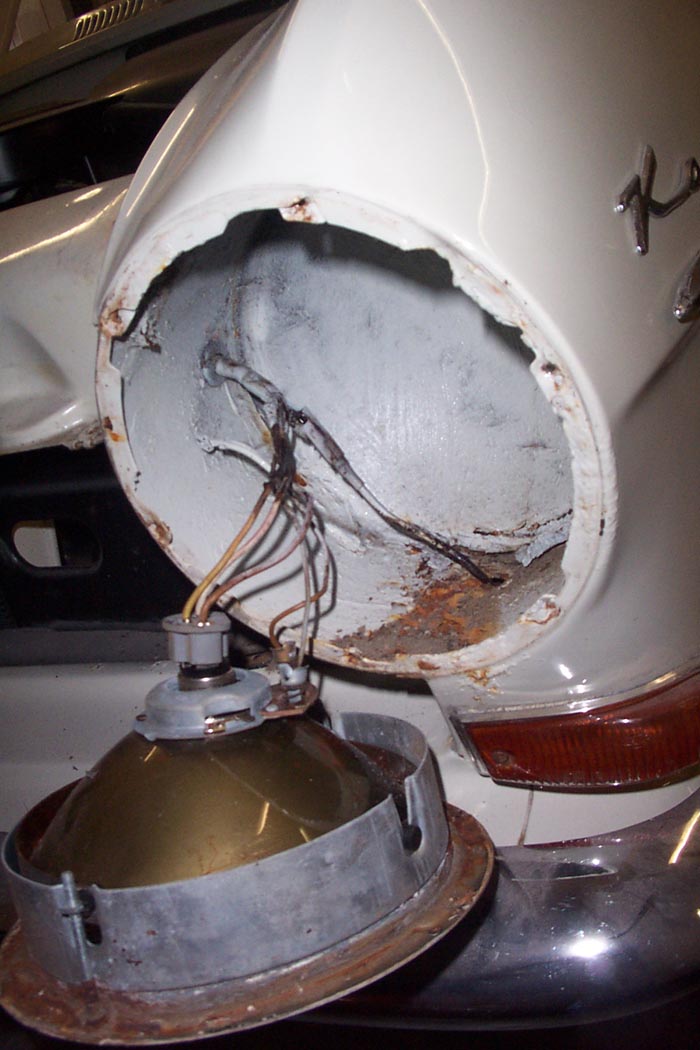
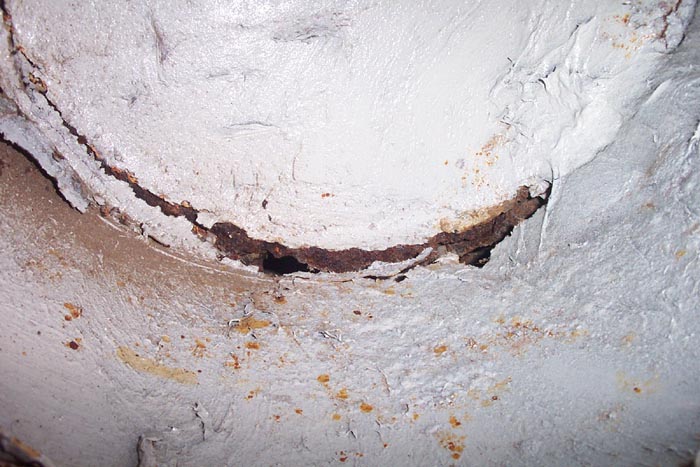
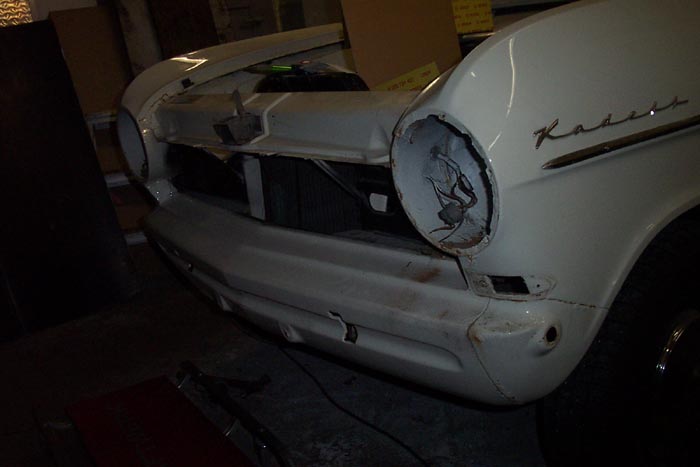
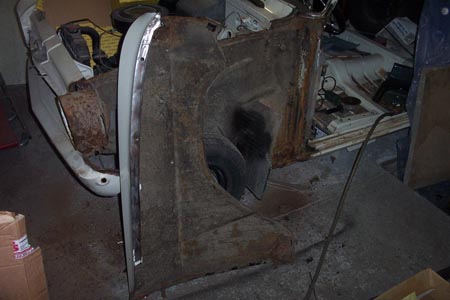
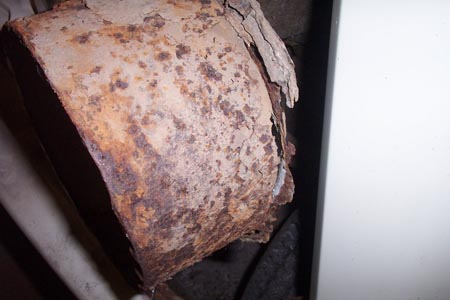
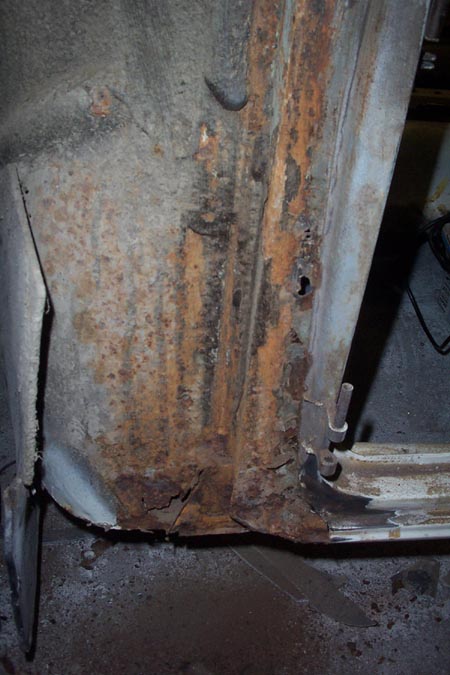
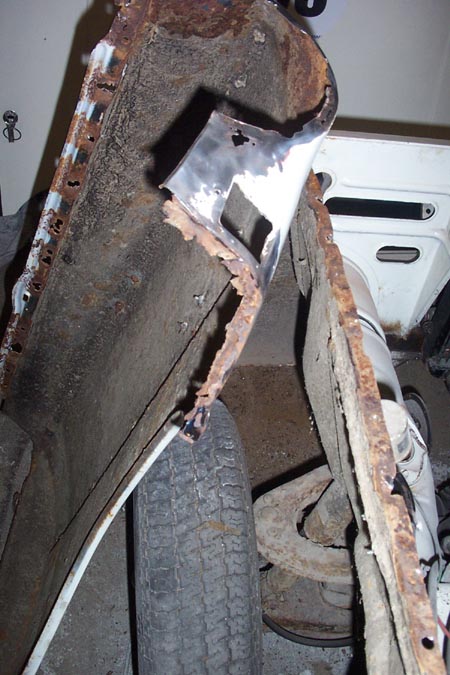
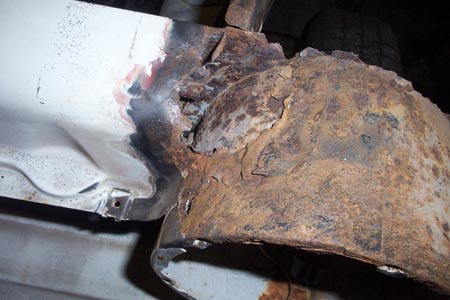
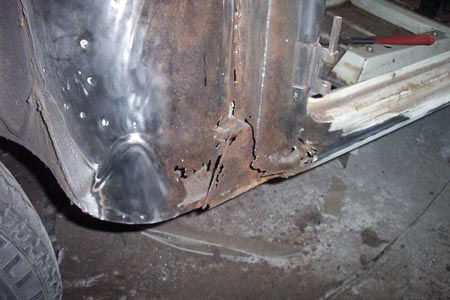
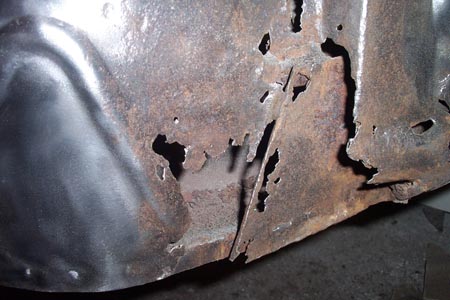
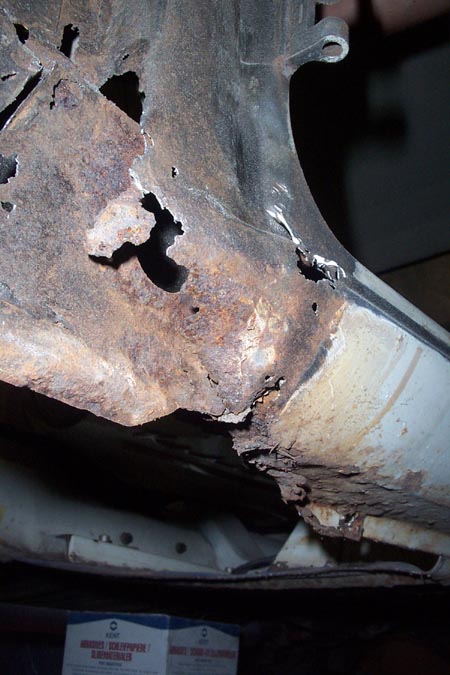
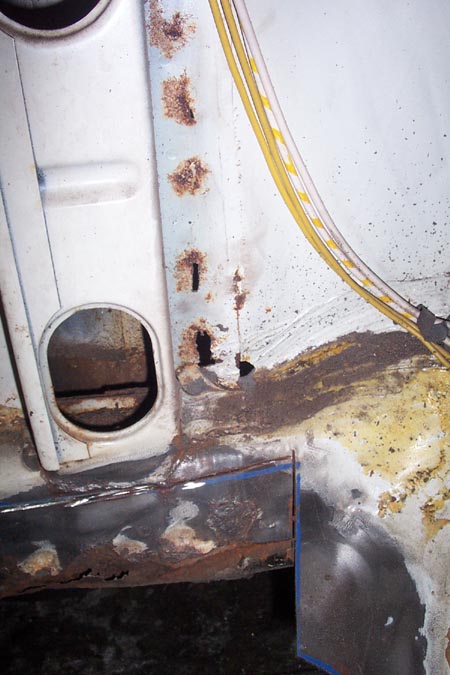
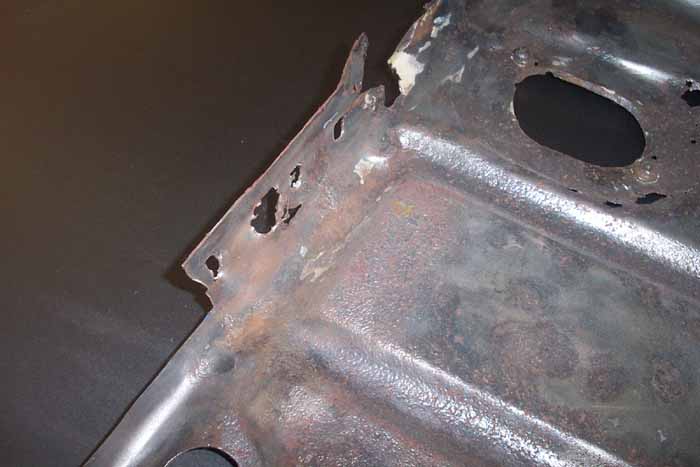
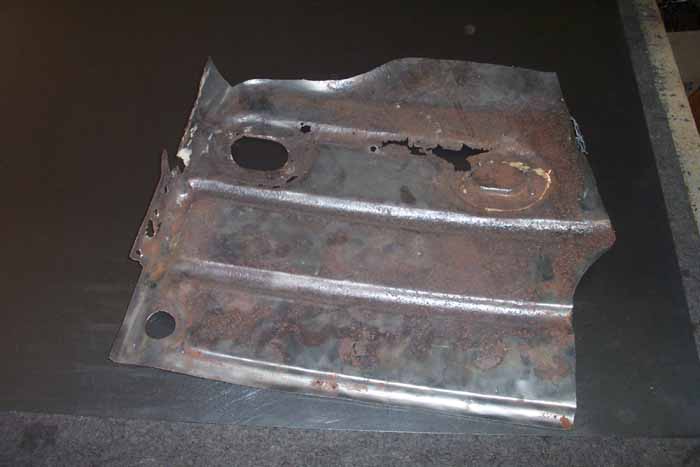
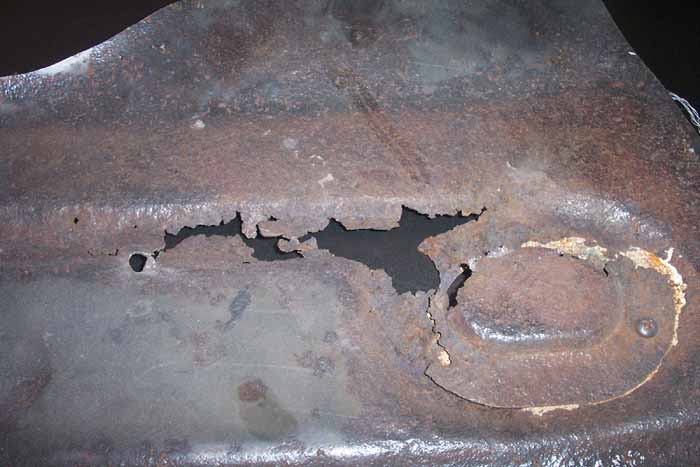
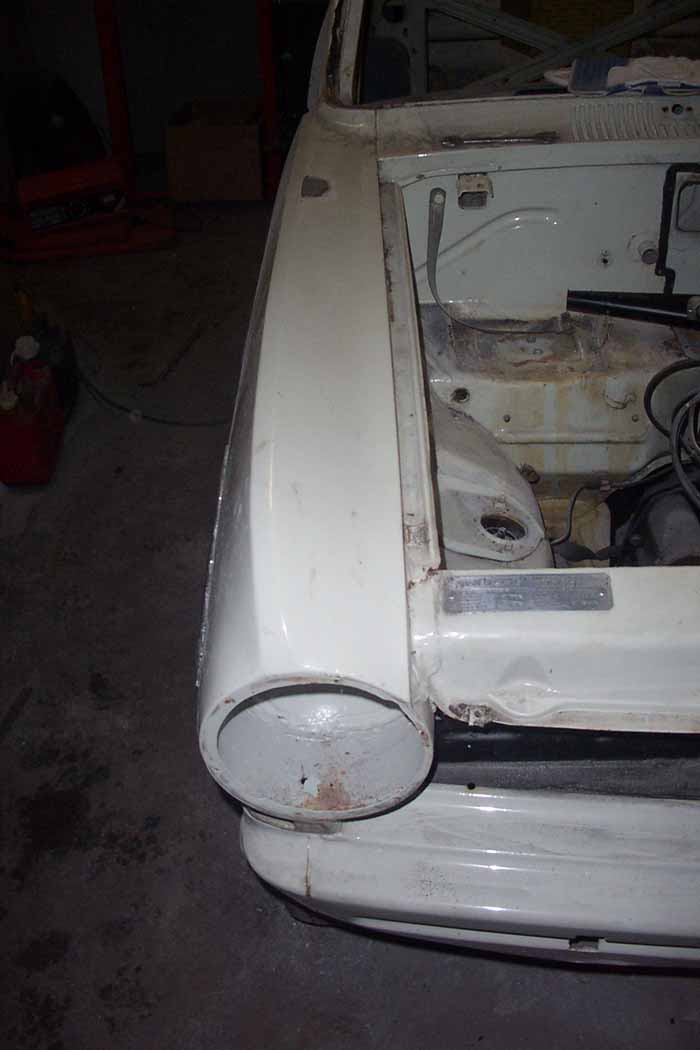
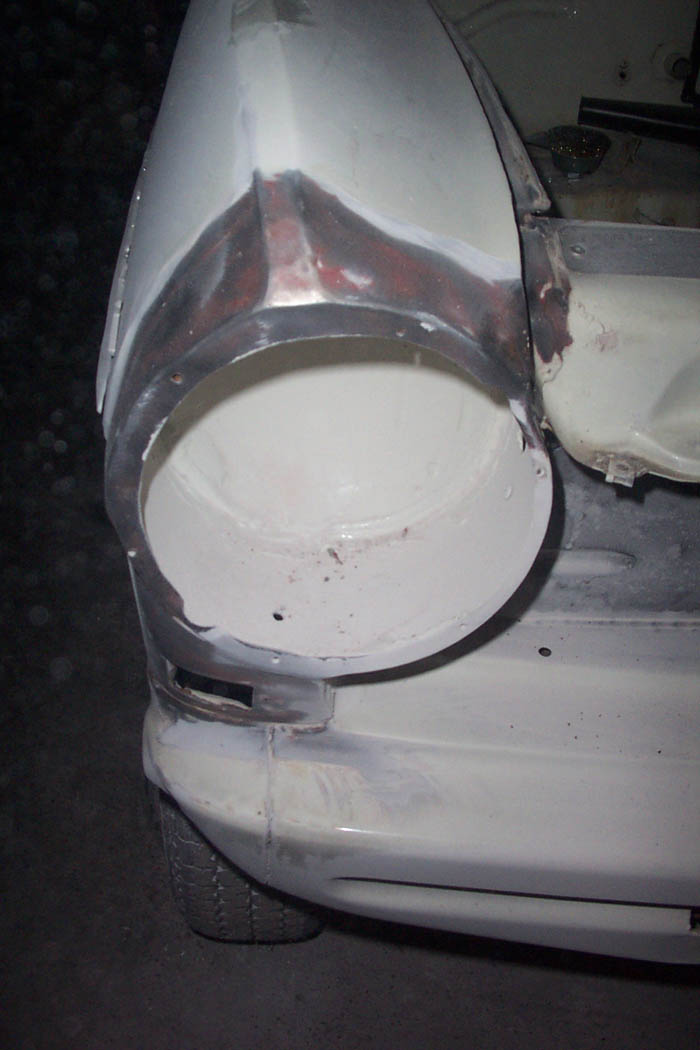
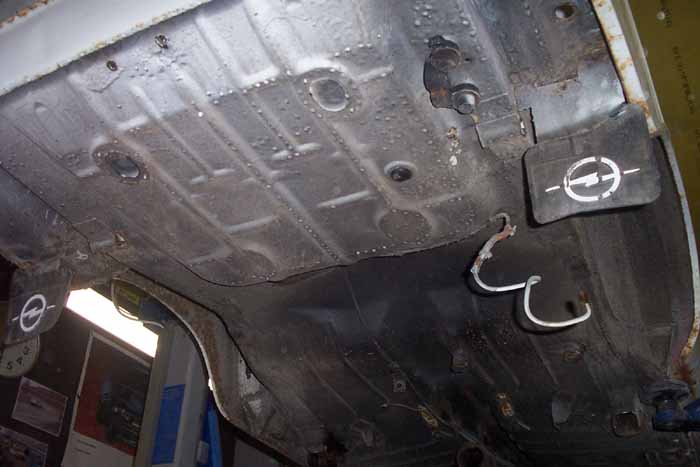
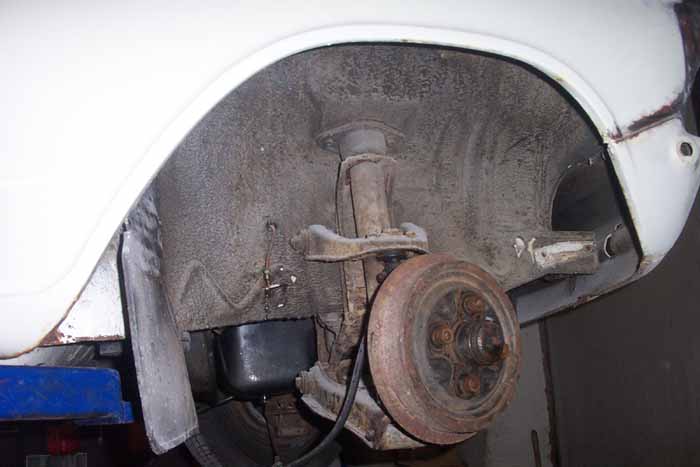
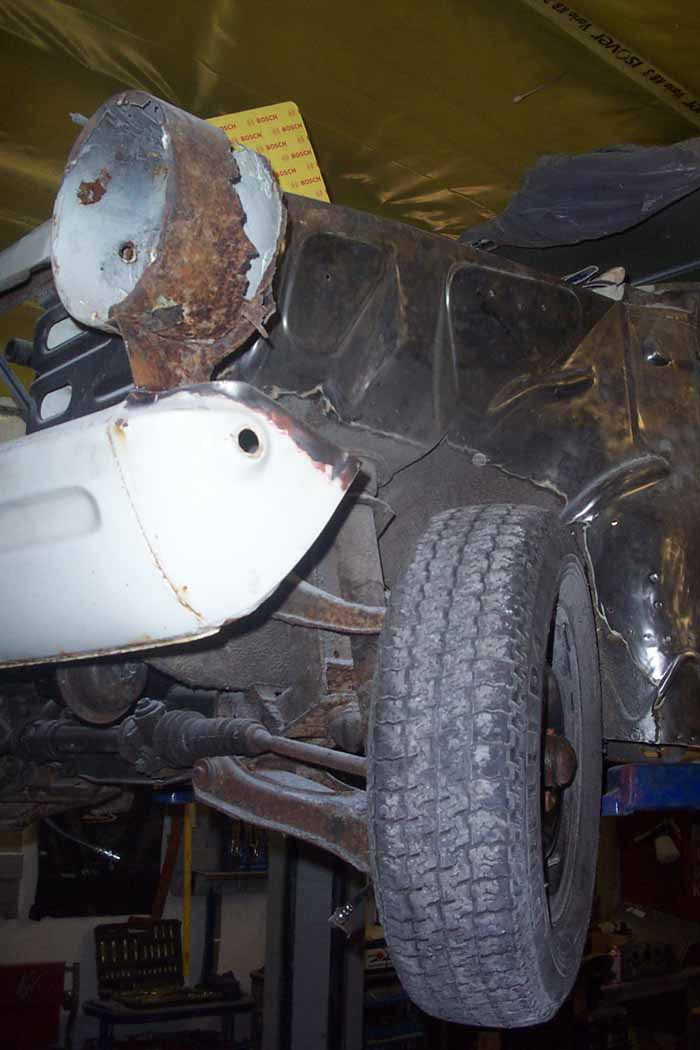
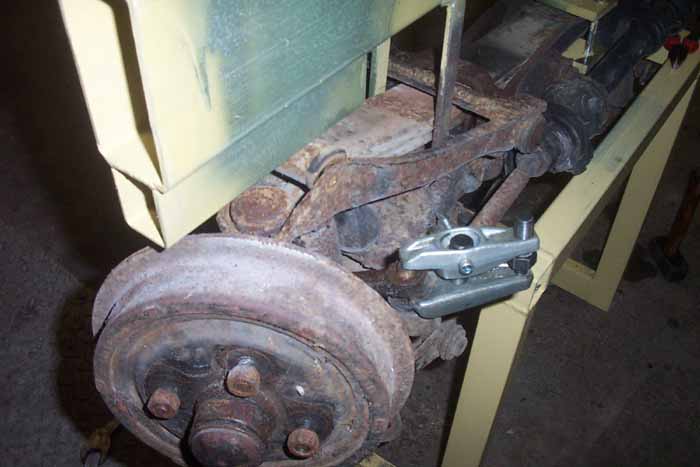
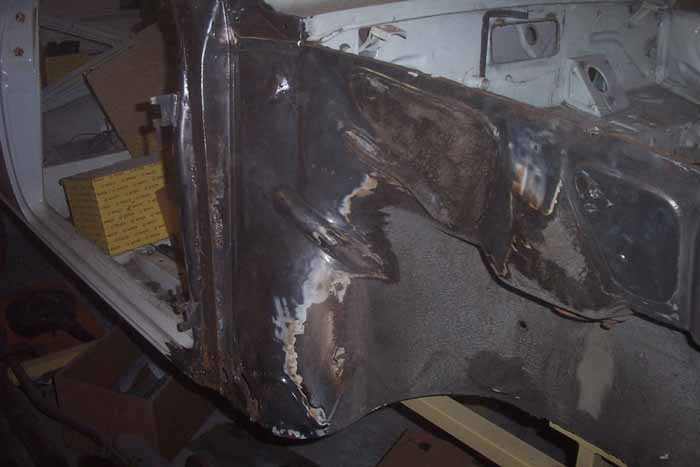
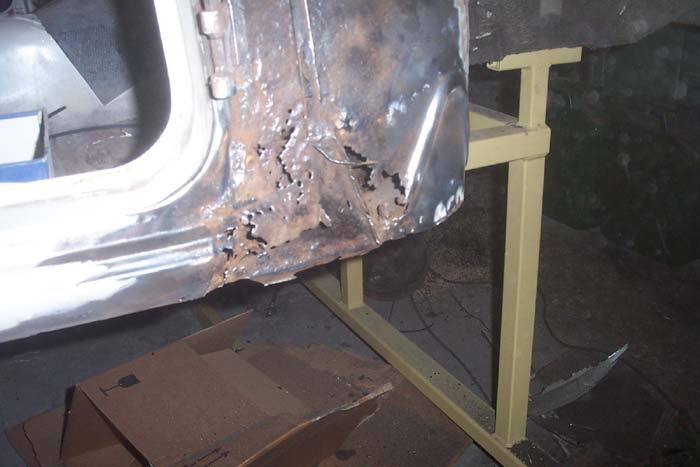
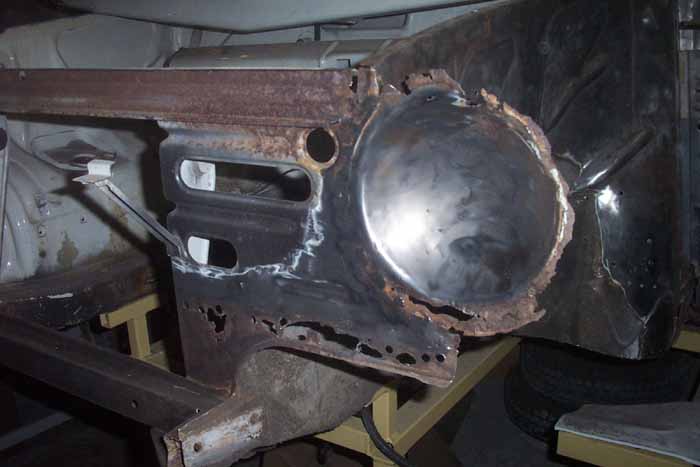
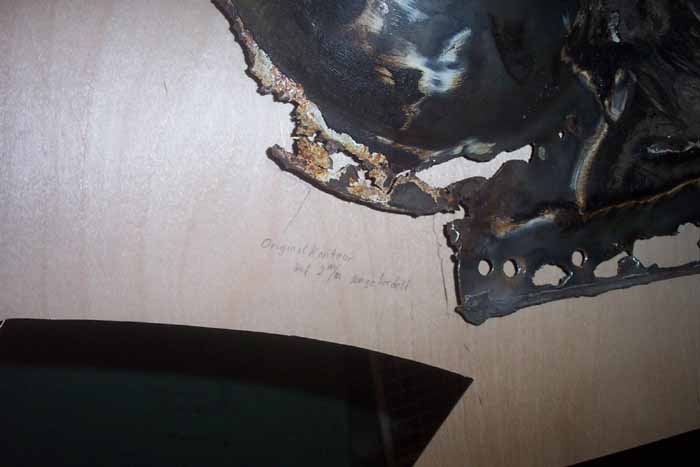
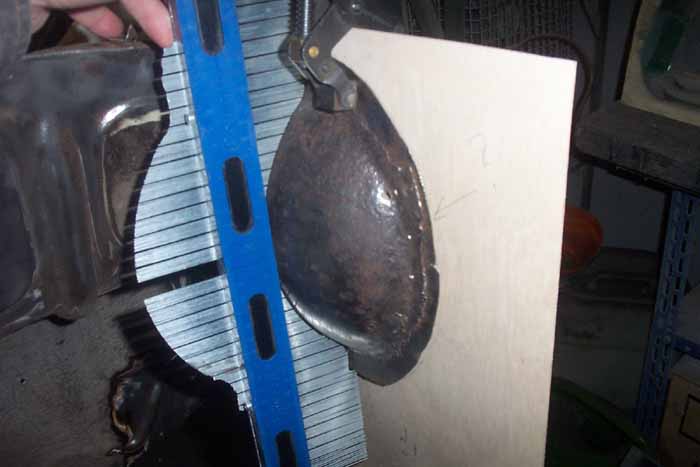
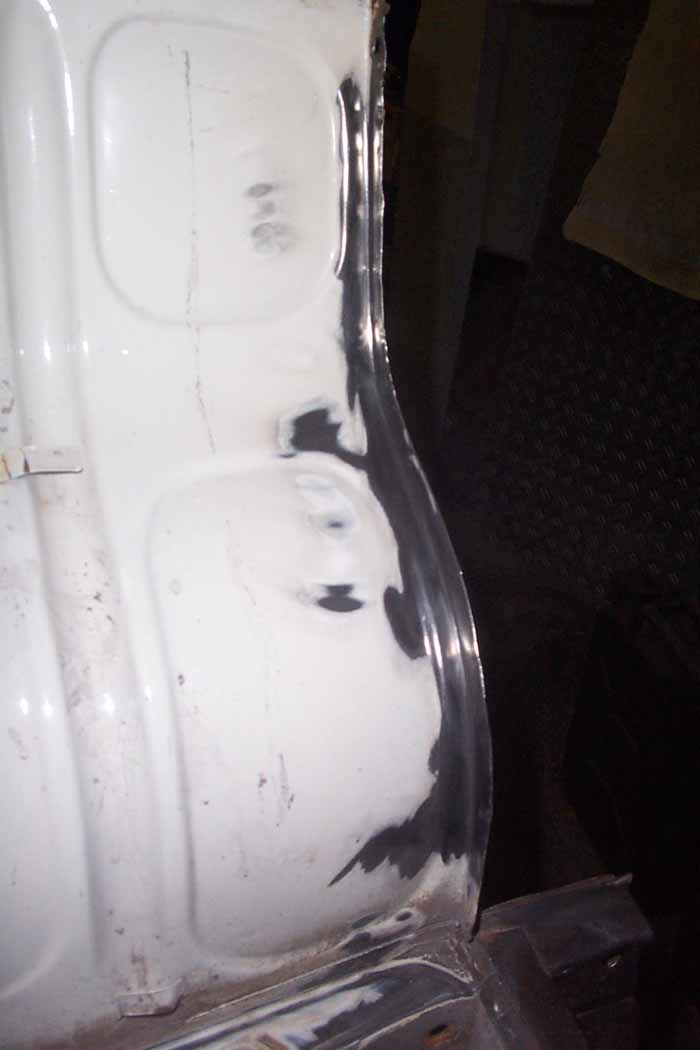
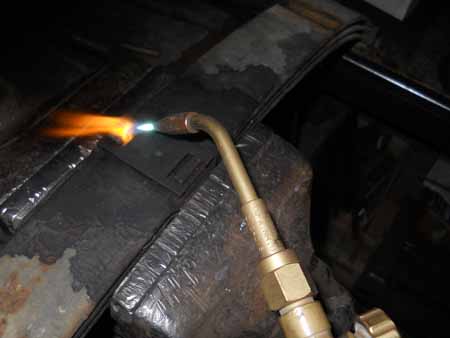
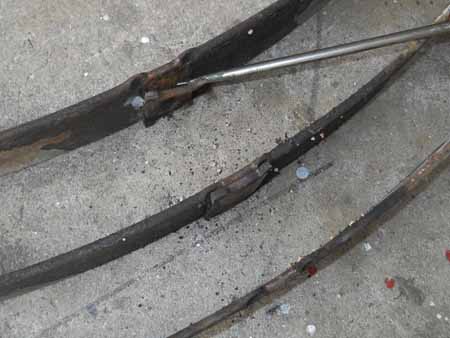
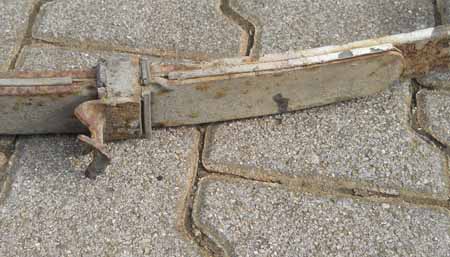
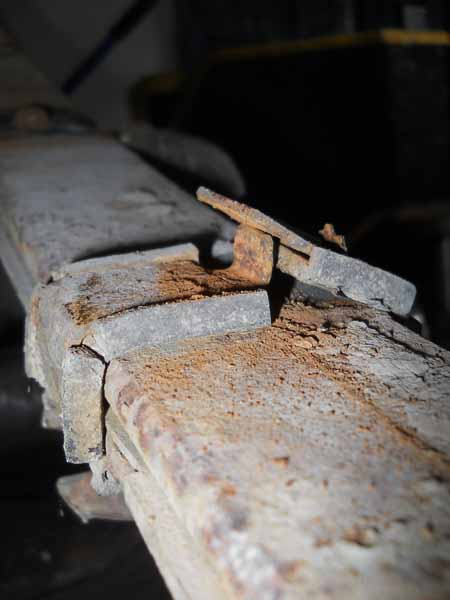
Did I already mention that I never before worked on any car? Well, to cut a long story short: The car looked fine at first glance, but a second examination (after it was bought, of course) revealed, that it was rotten underneath and had some other "minor" technical problems.
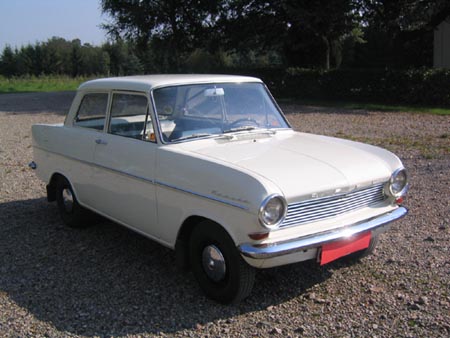
The car in question is one of those examples, that have been exported from Germany to Sweden in 1964. It is obvious that the car was well treated. However, it had seen some of the cold and icy Swedish winters.
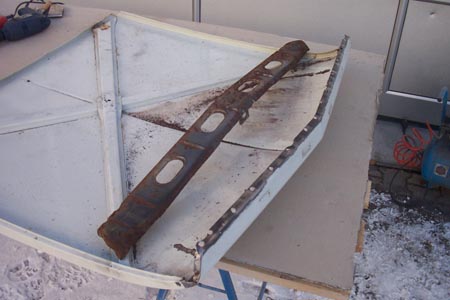
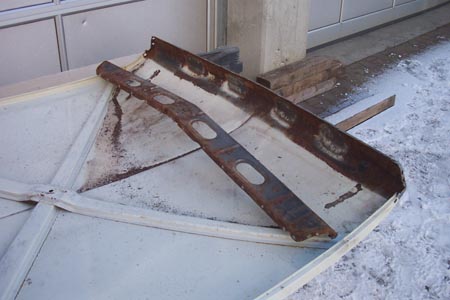
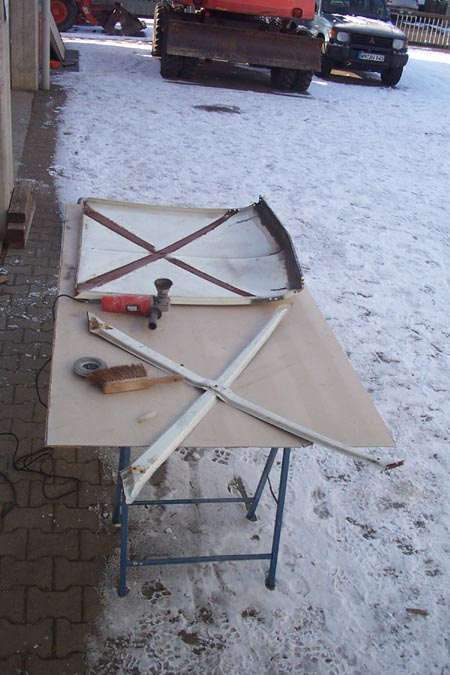
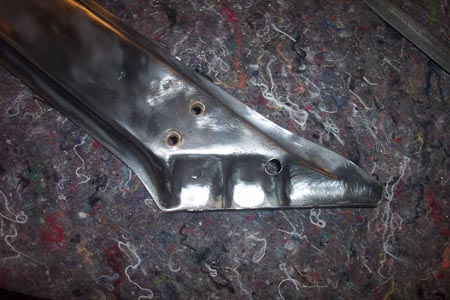
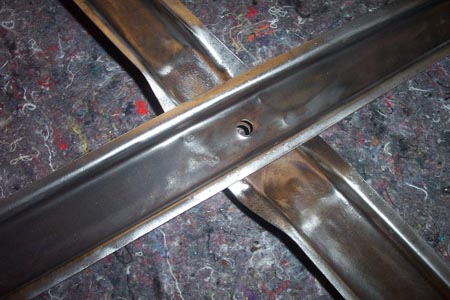
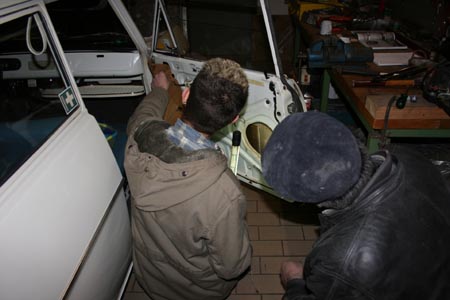
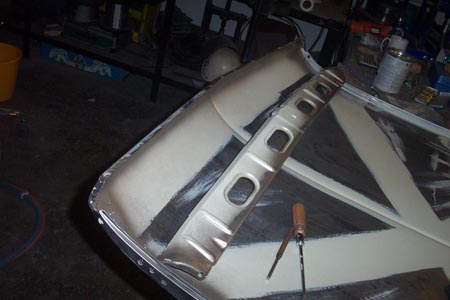
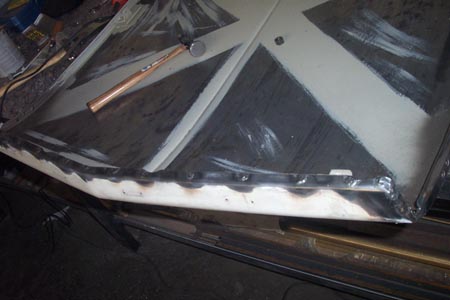
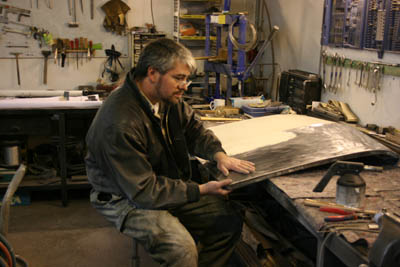
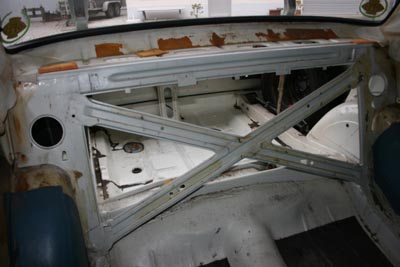
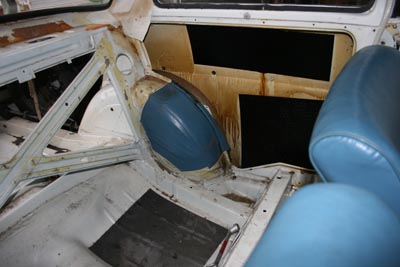
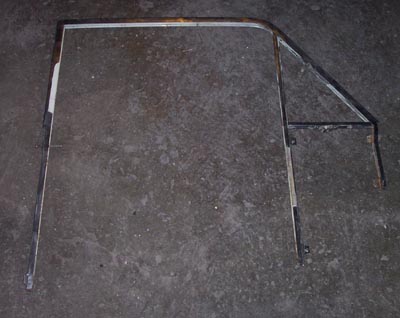
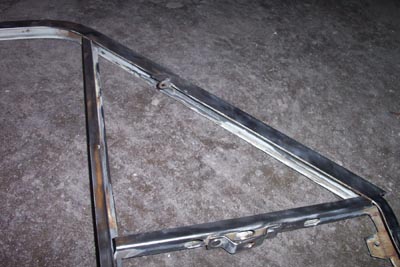
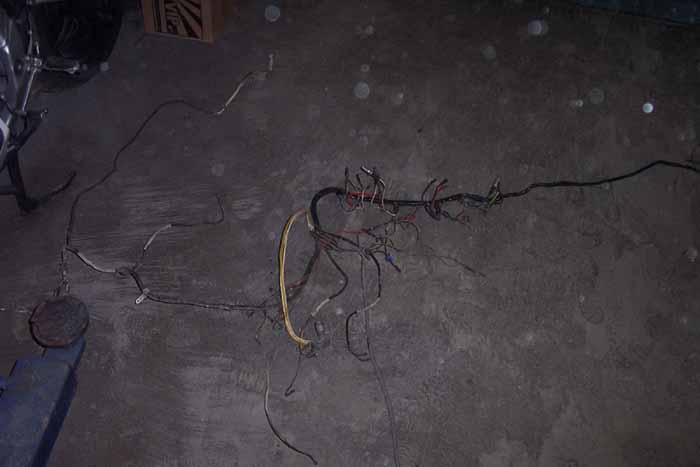
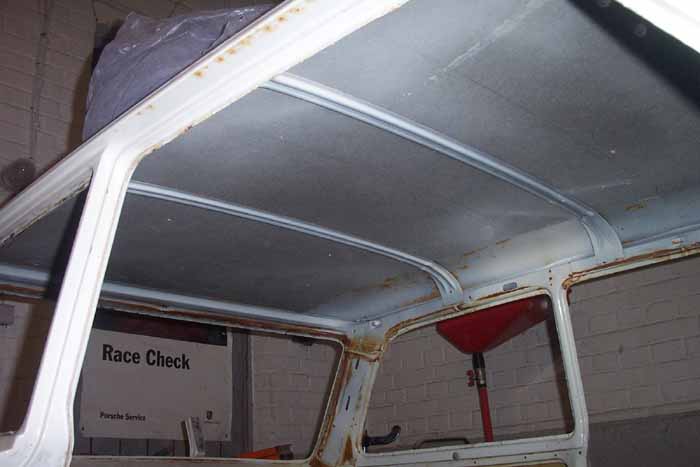
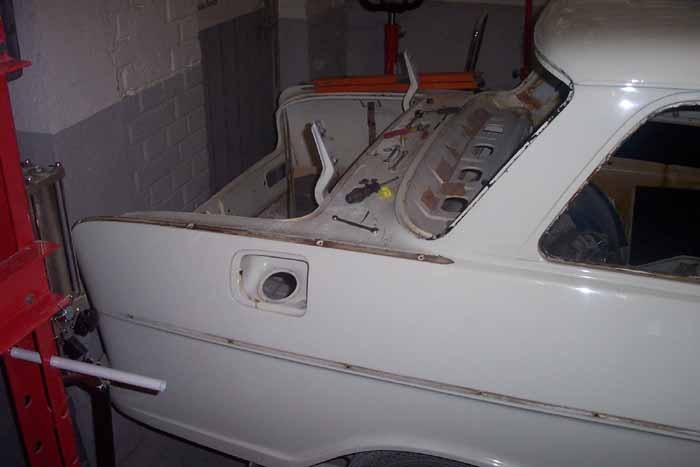
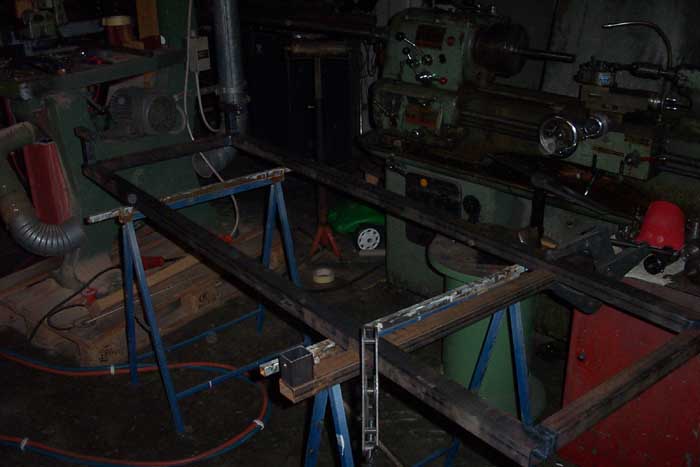
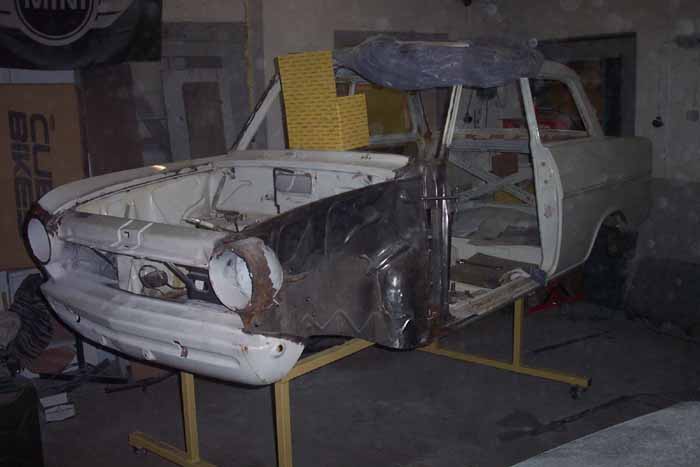
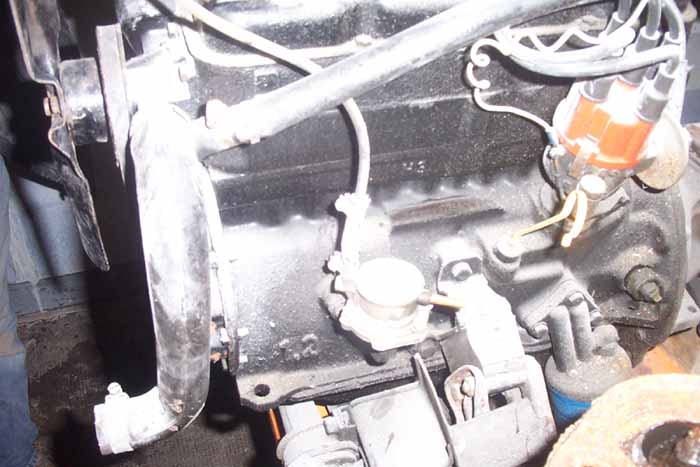
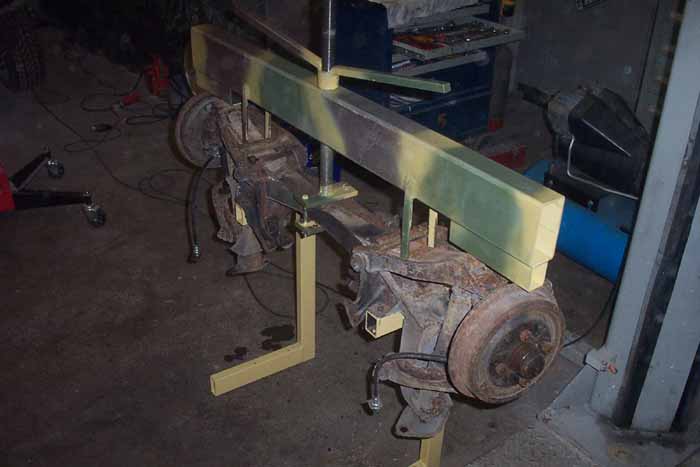
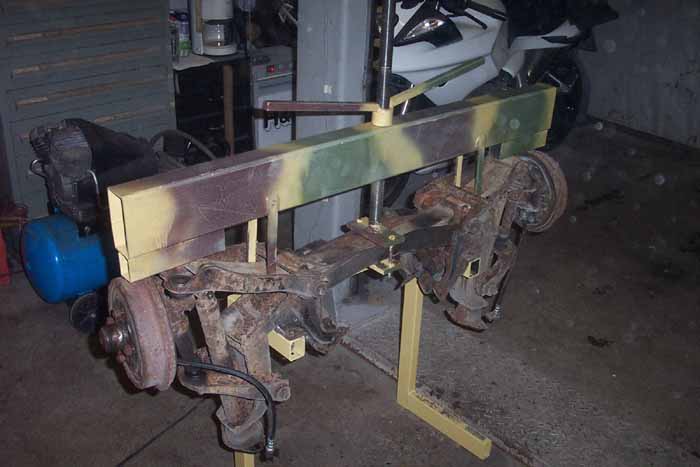
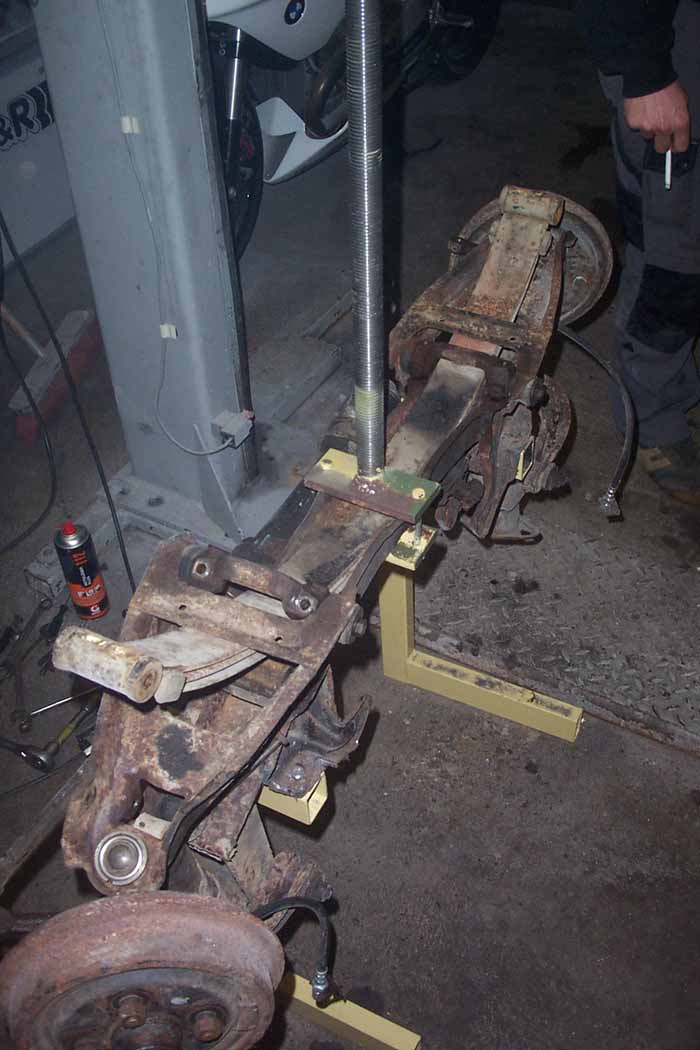
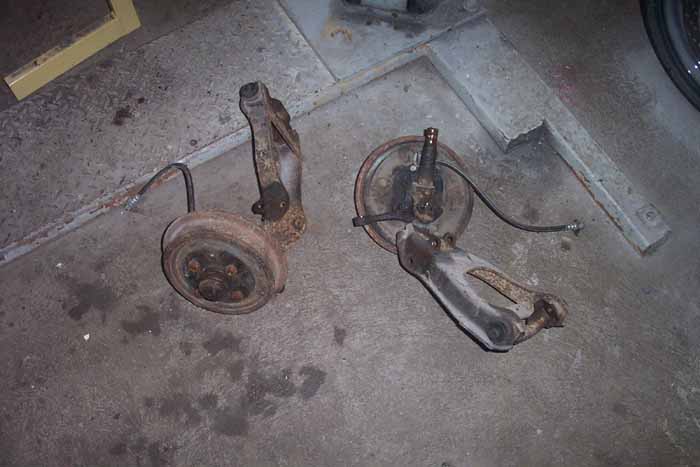
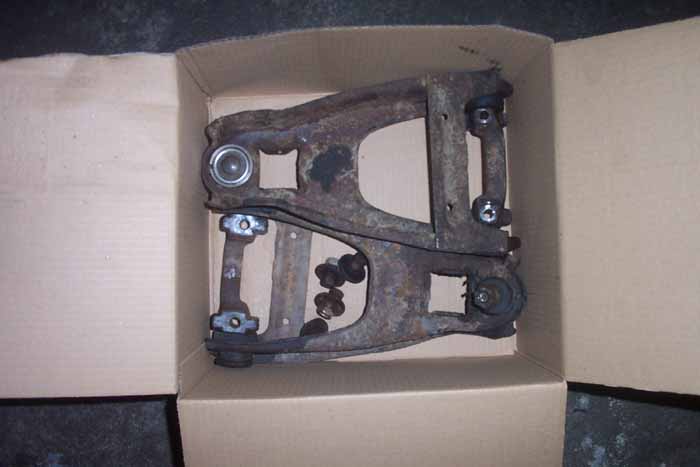
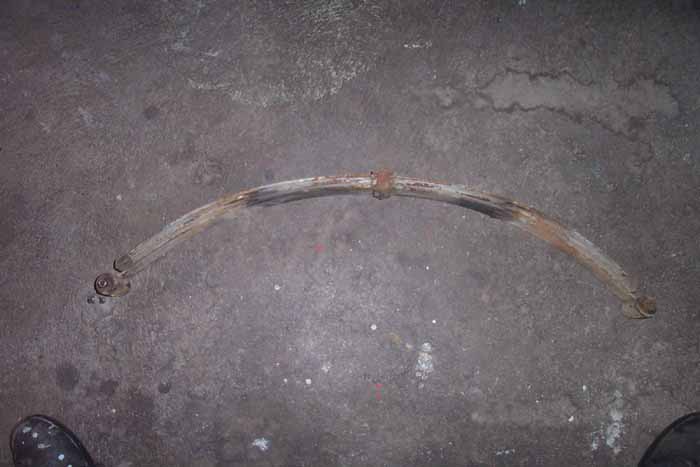
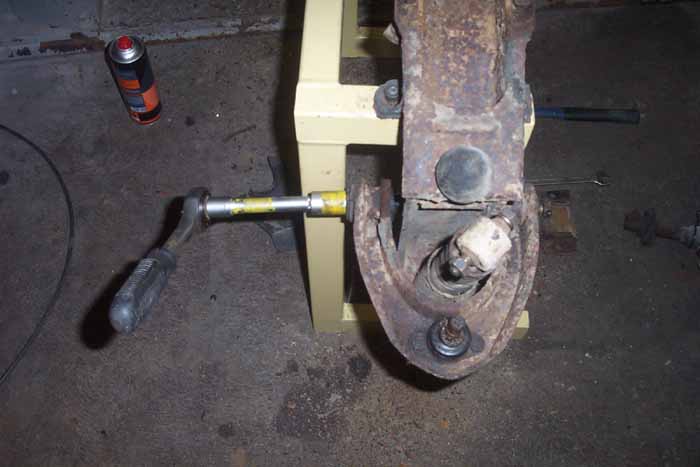
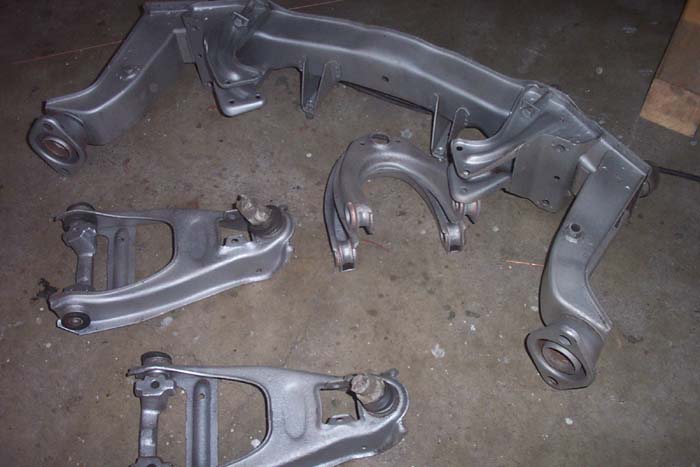
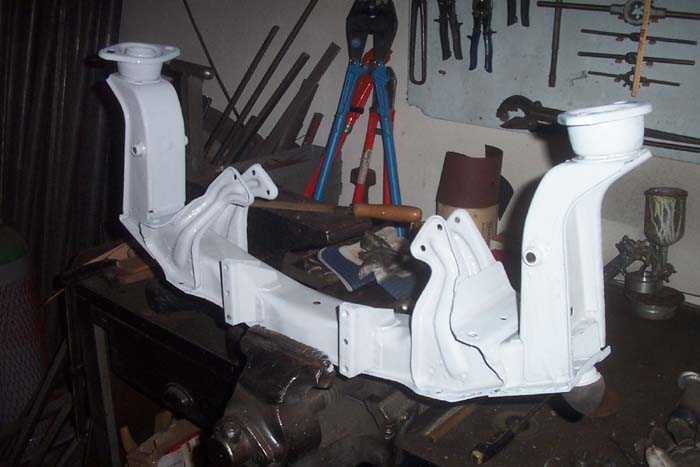
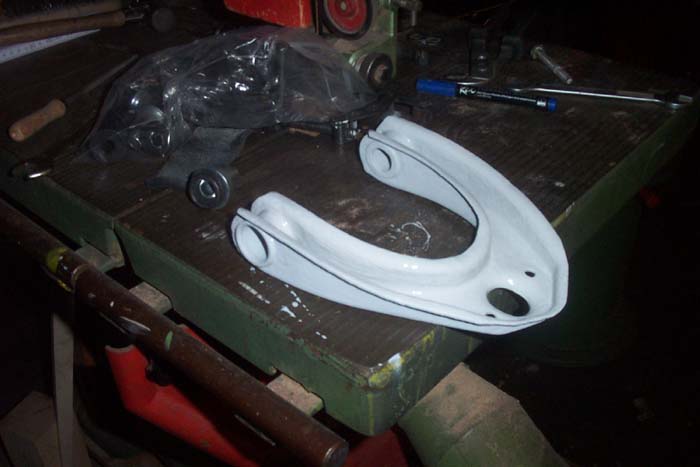
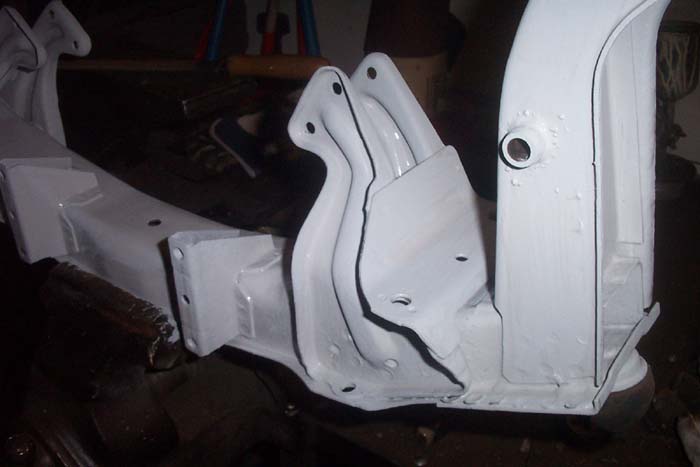
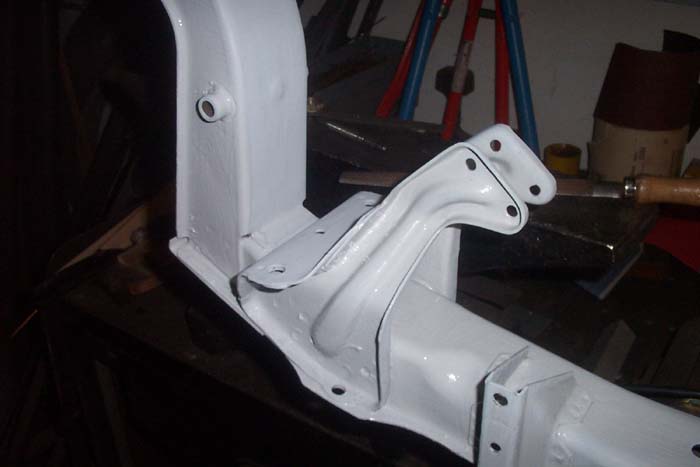
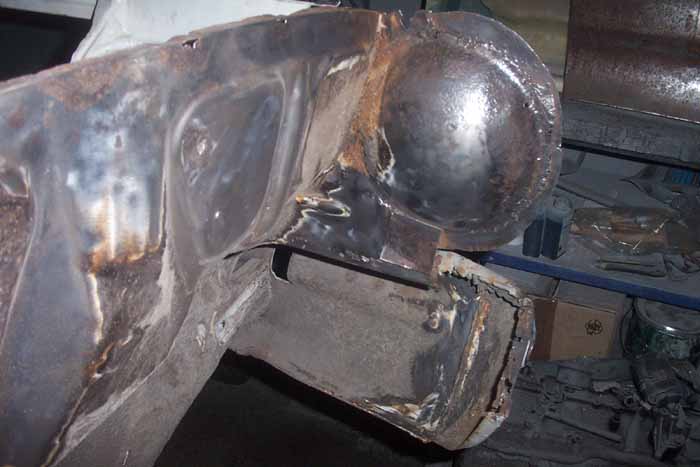
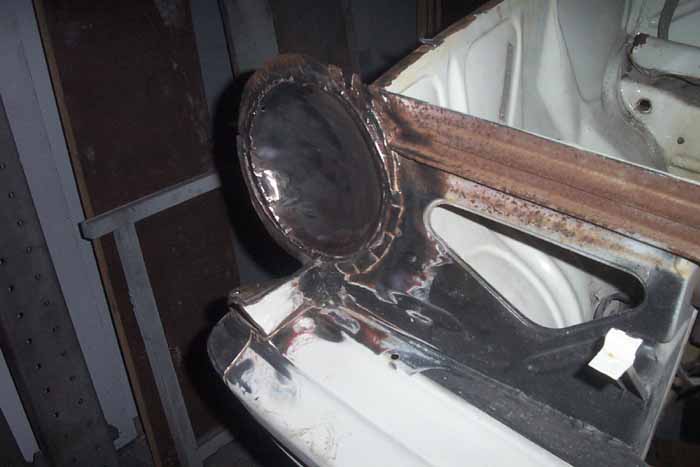
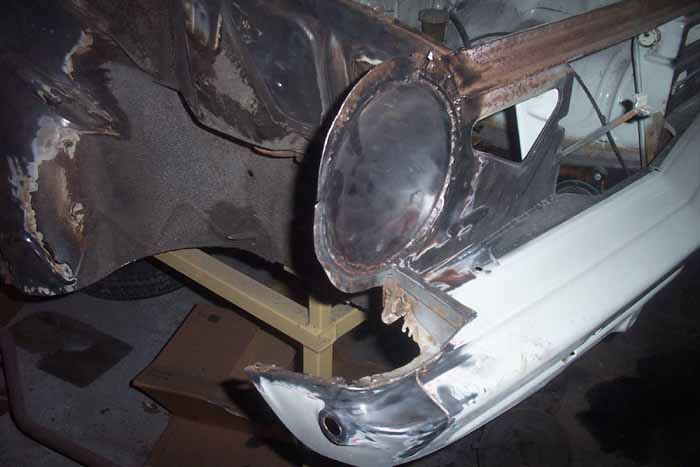
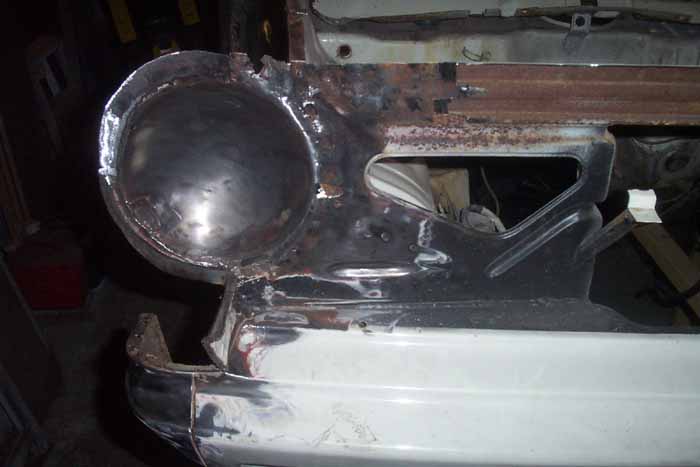
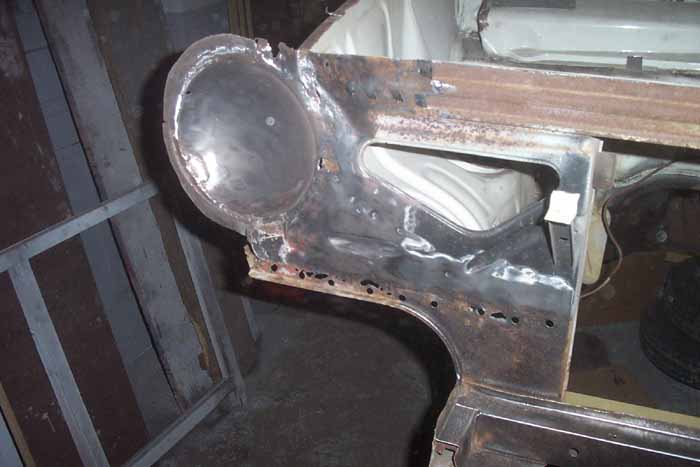
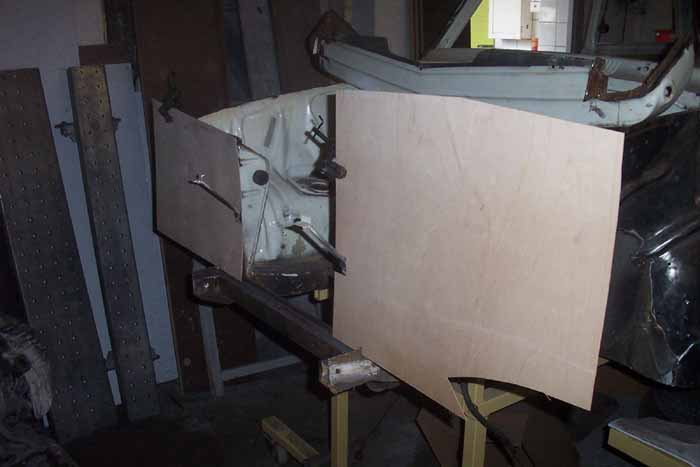
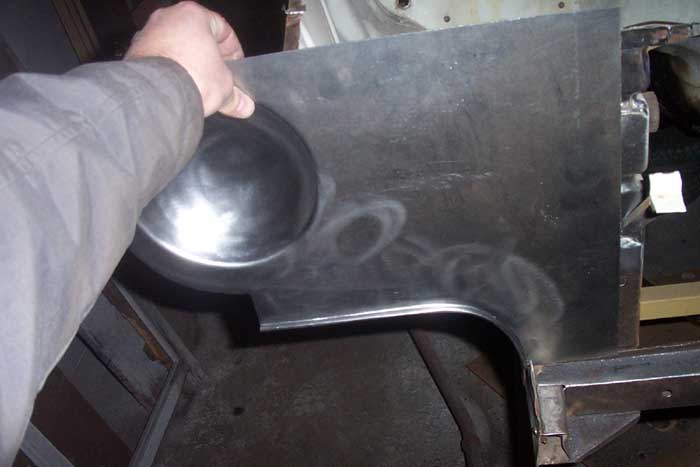
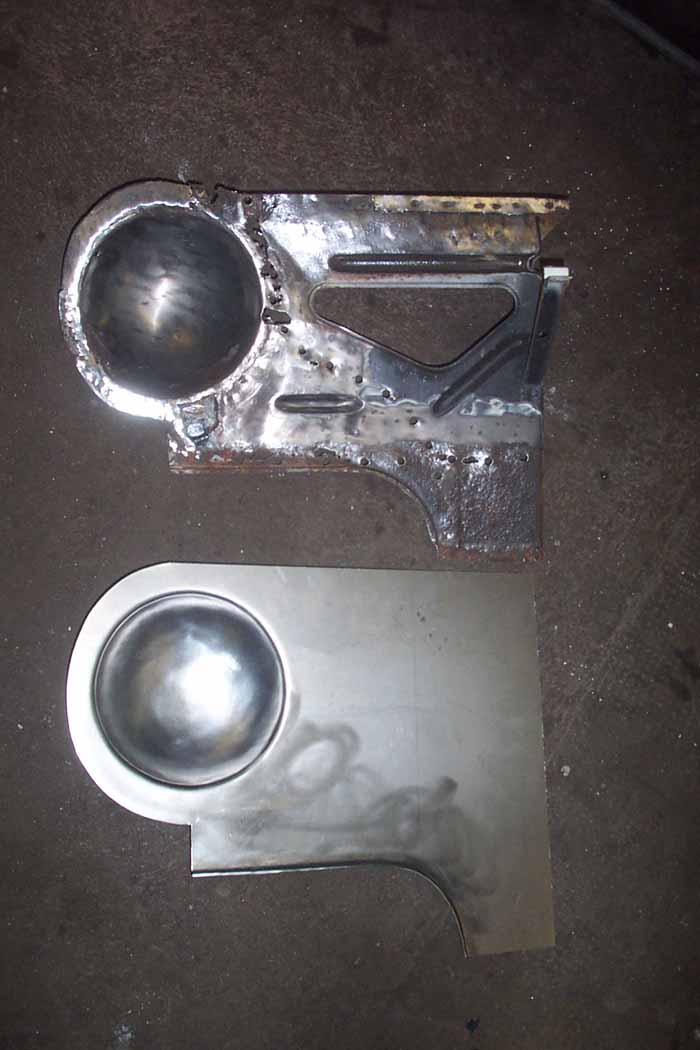
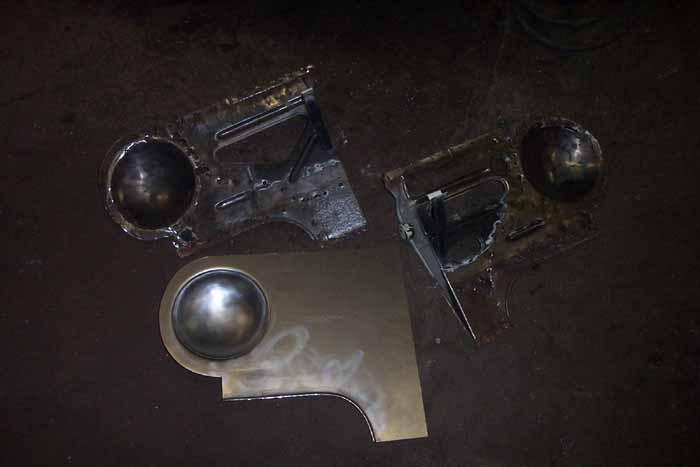
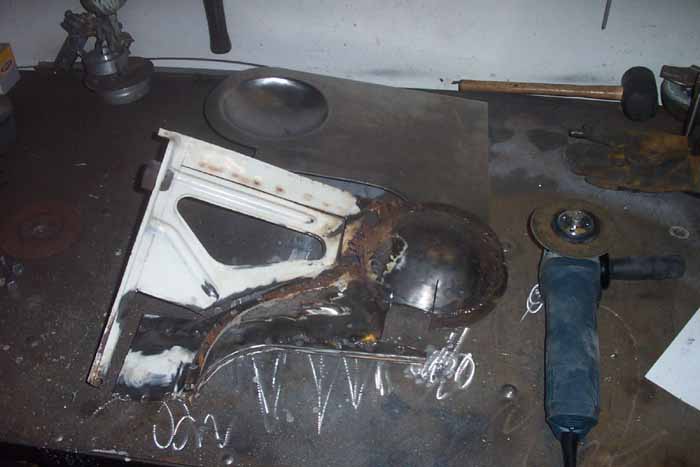
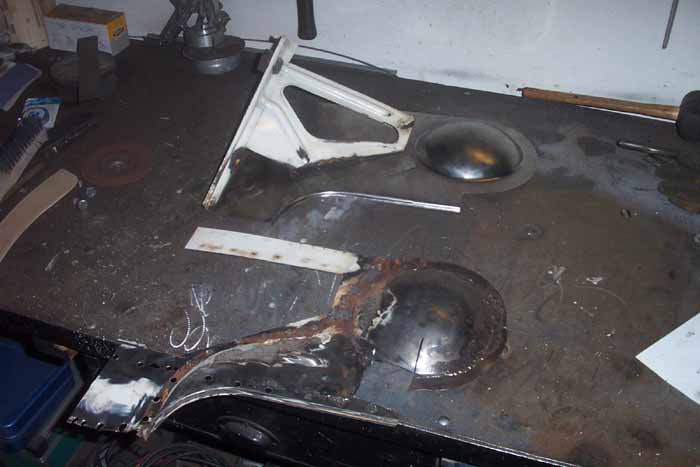
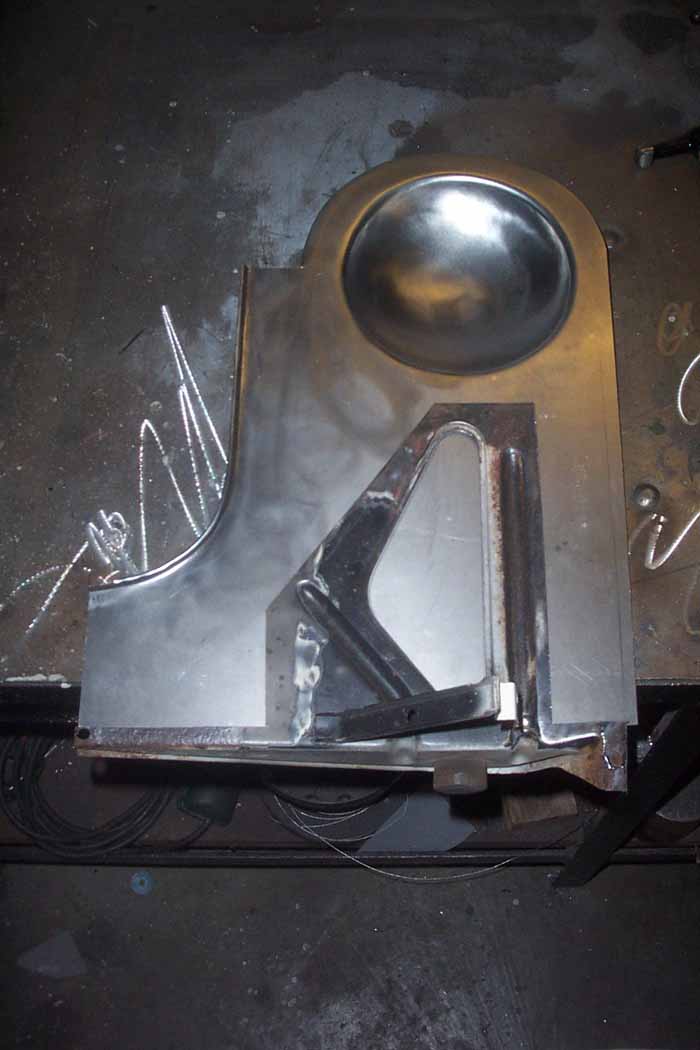
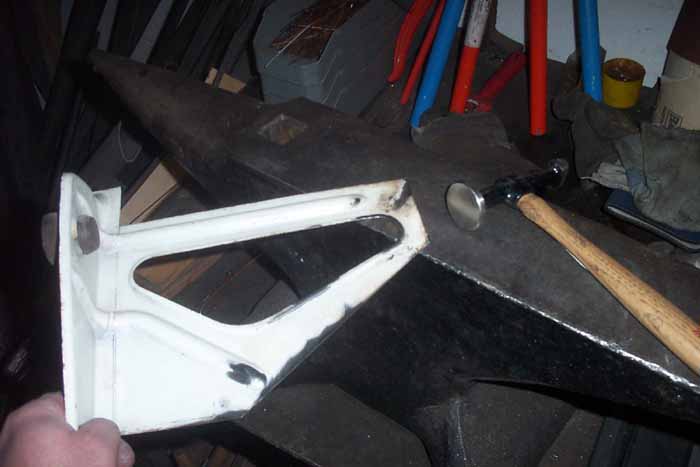
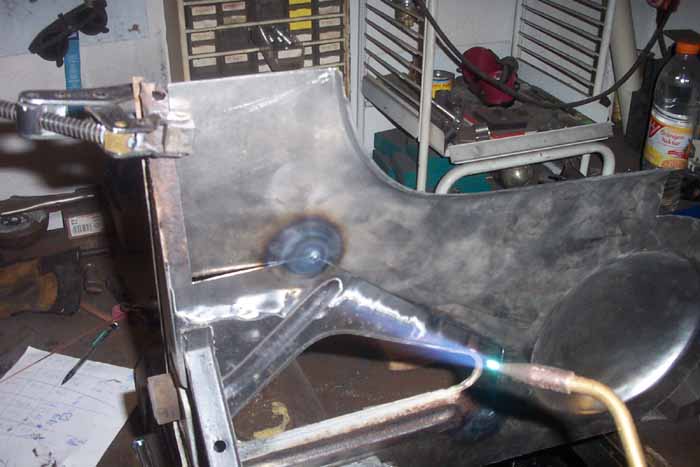
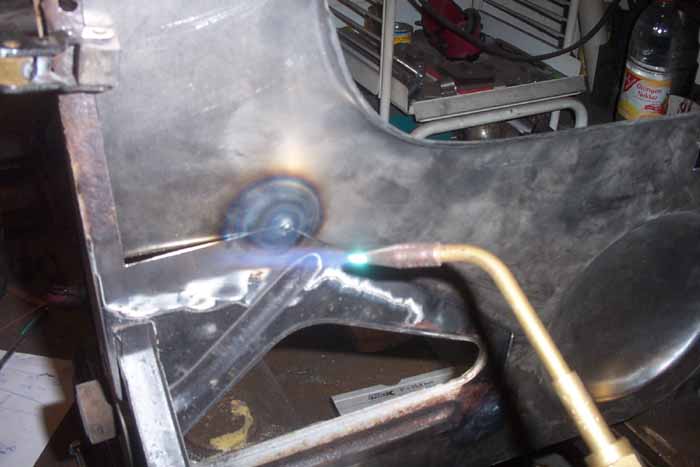
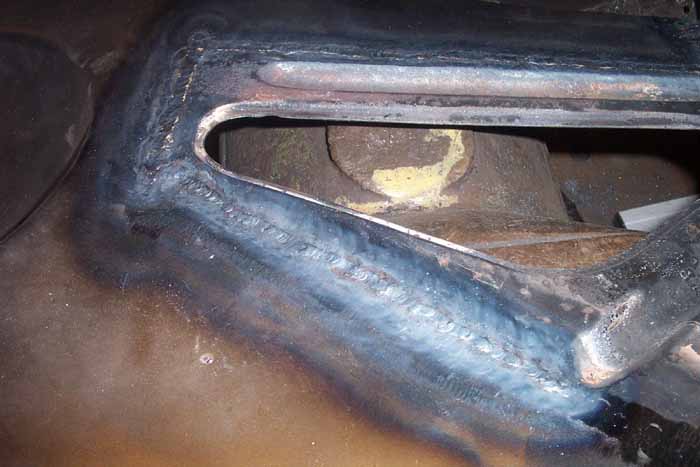
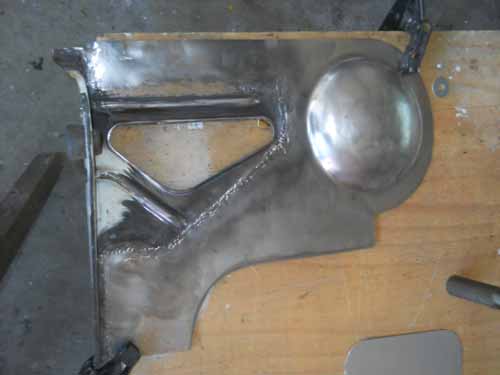
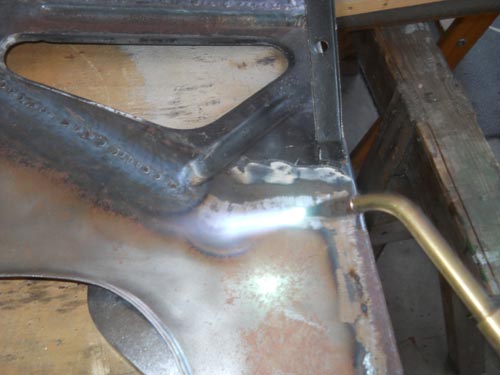
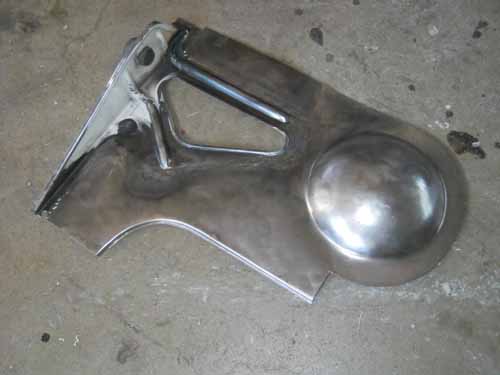
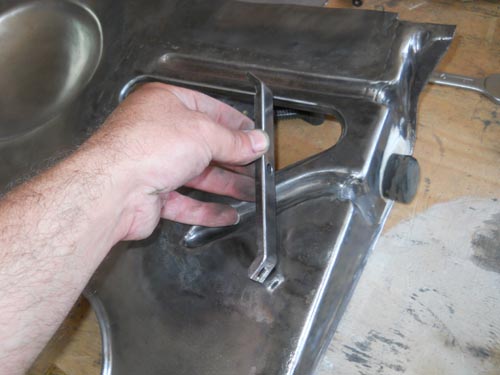
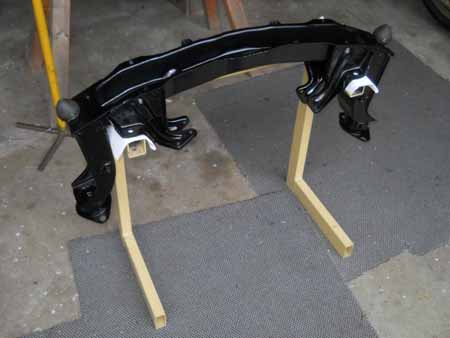
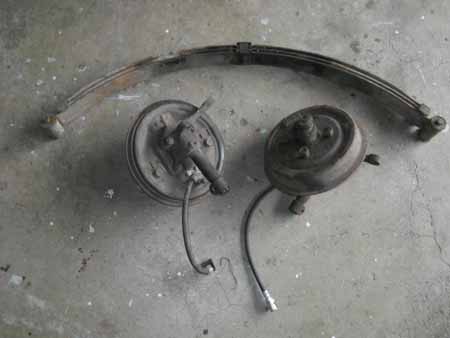
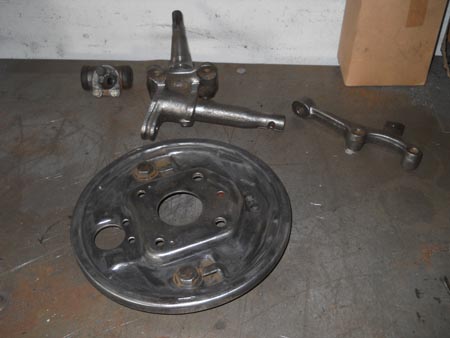
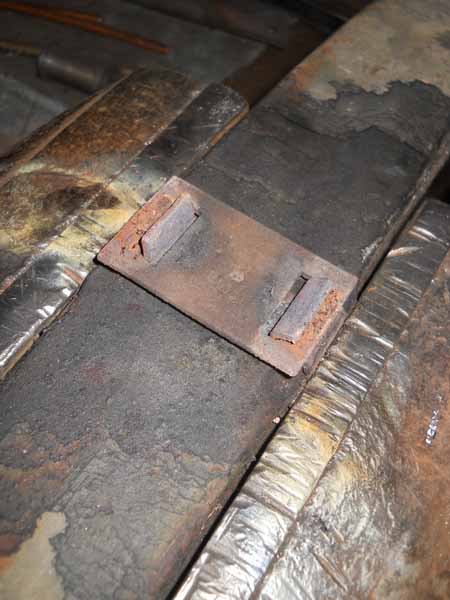
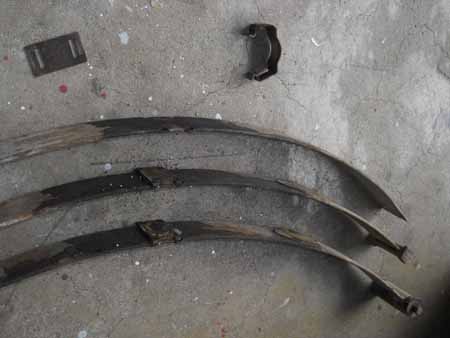
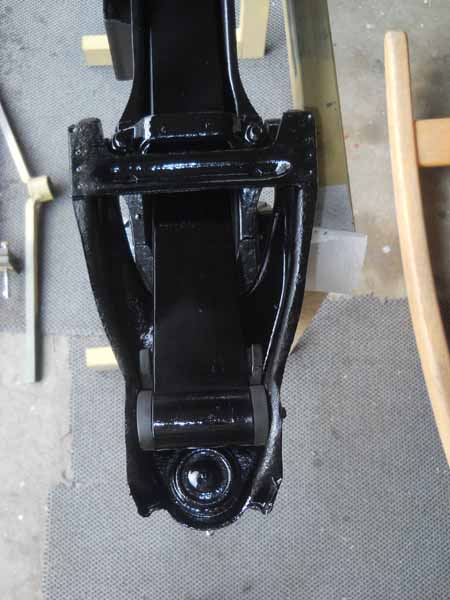
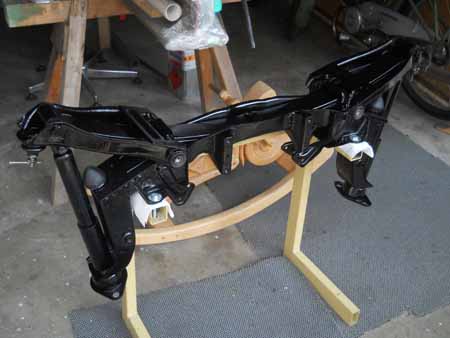
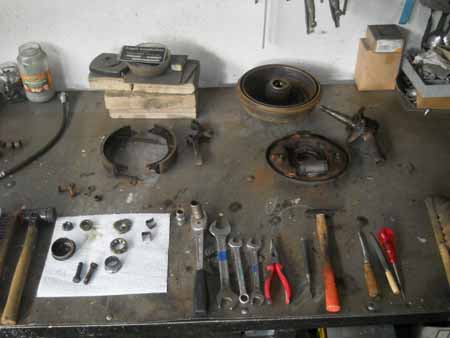
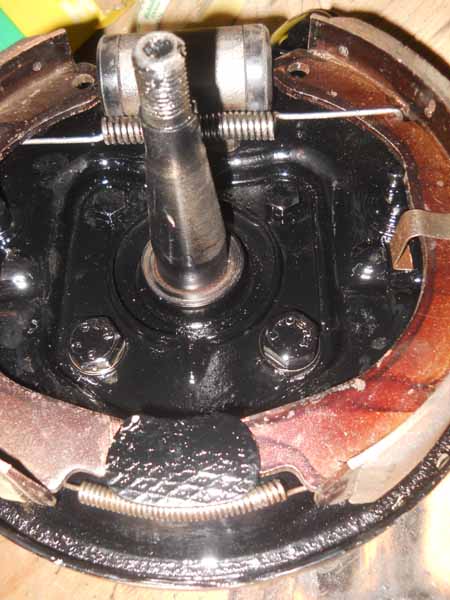
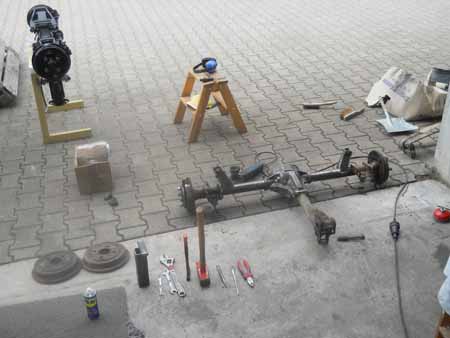
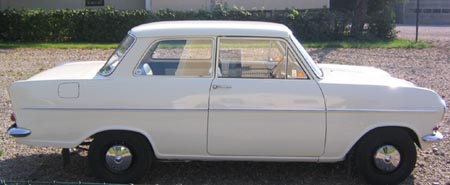
I have given it to a Opel Garage to have it technically repaired, but some of the carrying parts of the frame still need restoration.
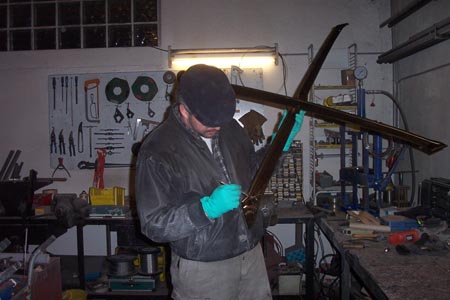
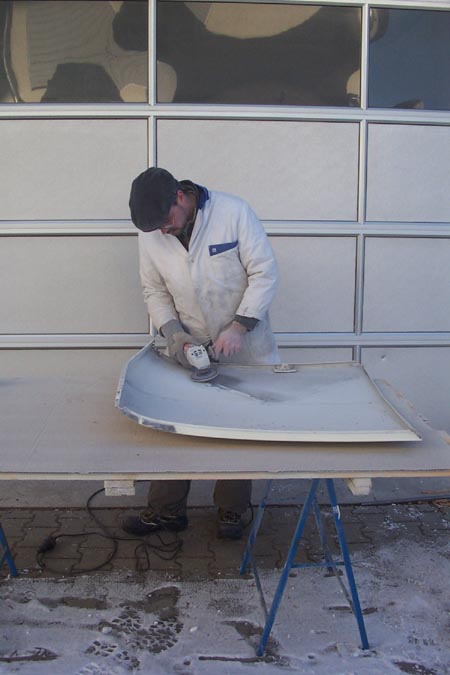
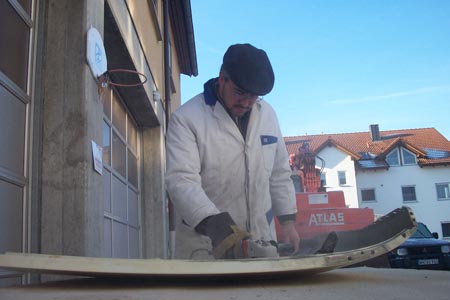
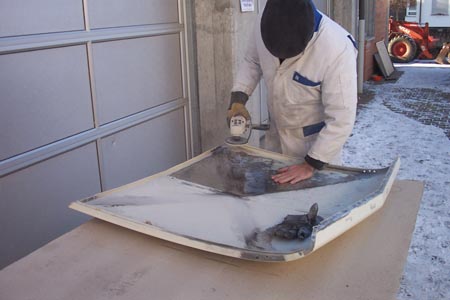
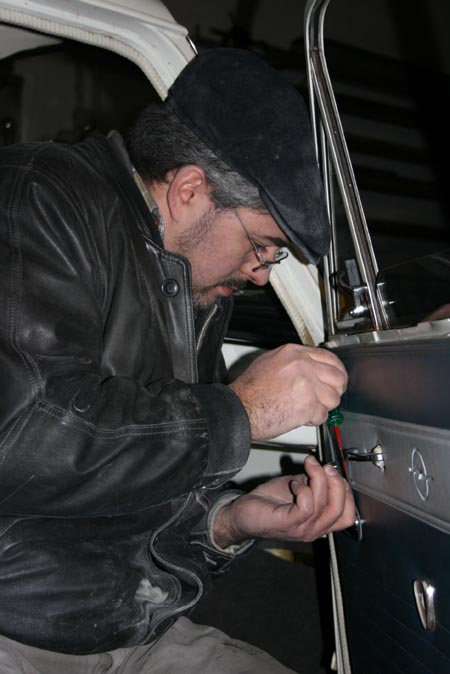
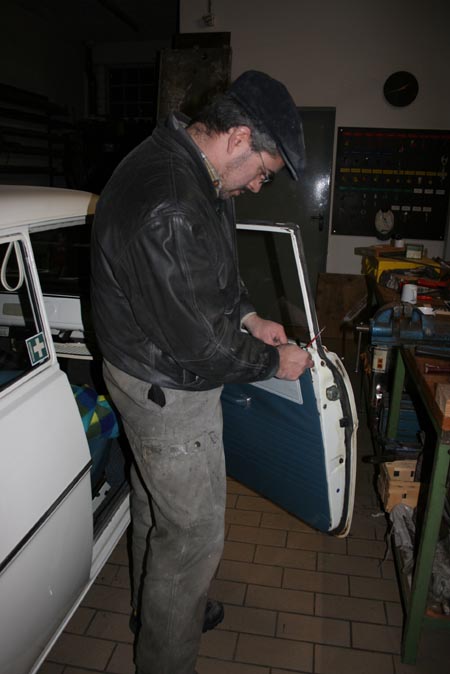
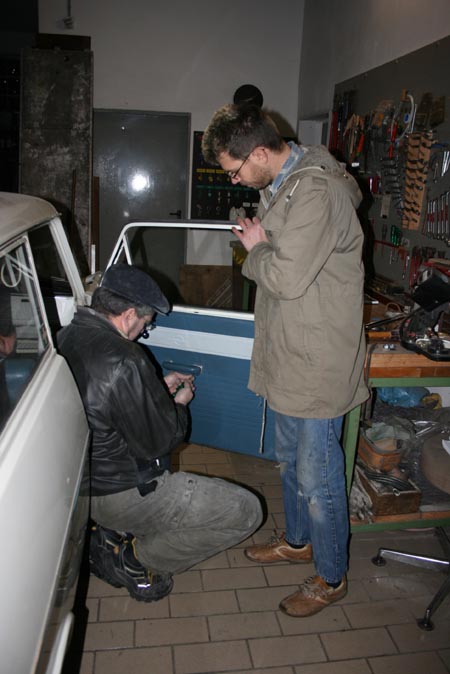
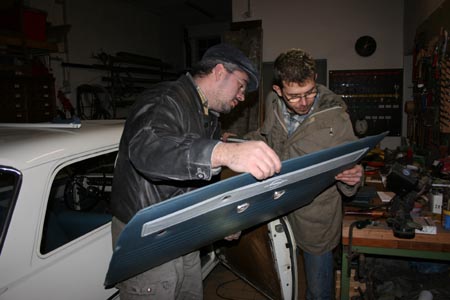
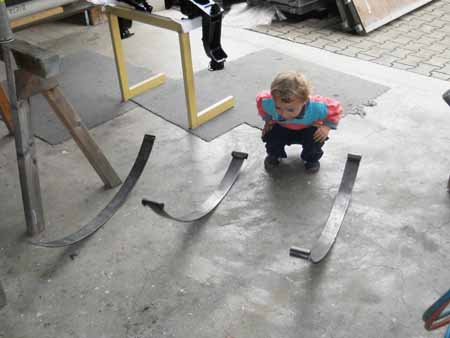
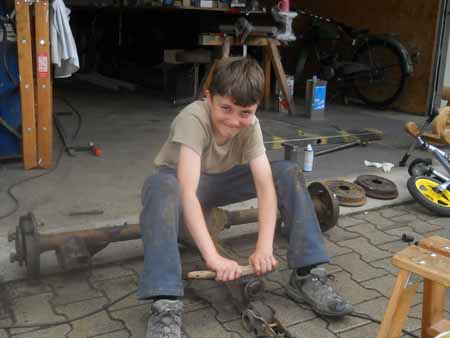
This website is intented to show this restoration in form of a diary.
With all that said, please keep in mind that I am an absolute beginner and many steps may appear unnecessary to the profi in this field.
In case you have any suggestions, please feel free to contact me using my e-mail address at the bottom of this page.
I am learning!
A lot of pleasure wishes you
Achim Engels
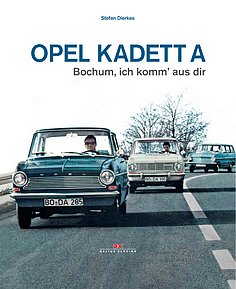
OPEL KADETT A
Restauration
Noch nie zuvor habe ich an einem Auto gearbeitet, aber schon immer war ich in den Opel Kadett verliebt.
Vor kurzem habe ich mir einen alten Wunsch erfüllt und mir einen Opel Kadett A angeschafft.
Habe ich schon erwähnt, dass ich keinerlei Ahnung von Autos habe? Langer Rede kurzer Sinn: das Auto sah äußerlich spitze aus. Der zweite Blick (natürlich erst nachdem das Auto gekauft war) zeigte aber schnell, dass das Fahrzeug unten herum an einigen Stellen ziemlich durchgefault war. Abgesehen davon hatte es auch noch ein paar weitere technische Probleme.
Der Wagen, um den es sich hier handelt, gehört zu denen, die 1964 von Deutschland aus nach Schweden exportiert wurden. Offensichtlich wurde der Wagen über die Jahrzehnte hinweg gut behandelt, allerdings hat er wohl auch einige eisige schwedische Winter mitgemacht.
Nachdem ich ihn gekauft hatte, habe ich ihn in eine Opel-Werkstatt gegeben um ihn technisch wieder herzurichten. Allerdings hat der TÜV wegen Durchrostung tragender Teile abgewunken.
Ganz nach dem Motto, "was ich habe behalte ich auch", habe ich mich nun dazu entschlossen das Auto einer Vollrestauration zu unterziehen.
Da ich keine Ahnung von so etwas habe, kann es dem Einen oder Anderen etwas seltsam vorkommen wie ich die Sache angehe, aber: Ich lerne ja noch!
In diesem Sinne viel Spaß!
Achim Engels